Tag: make it
-
Step by Step Concrete Planter

What you will need:
A 5 gallon bucket to mix, quickcrete, water, 2 boxes, wax paper, gloves, & something to mix with.
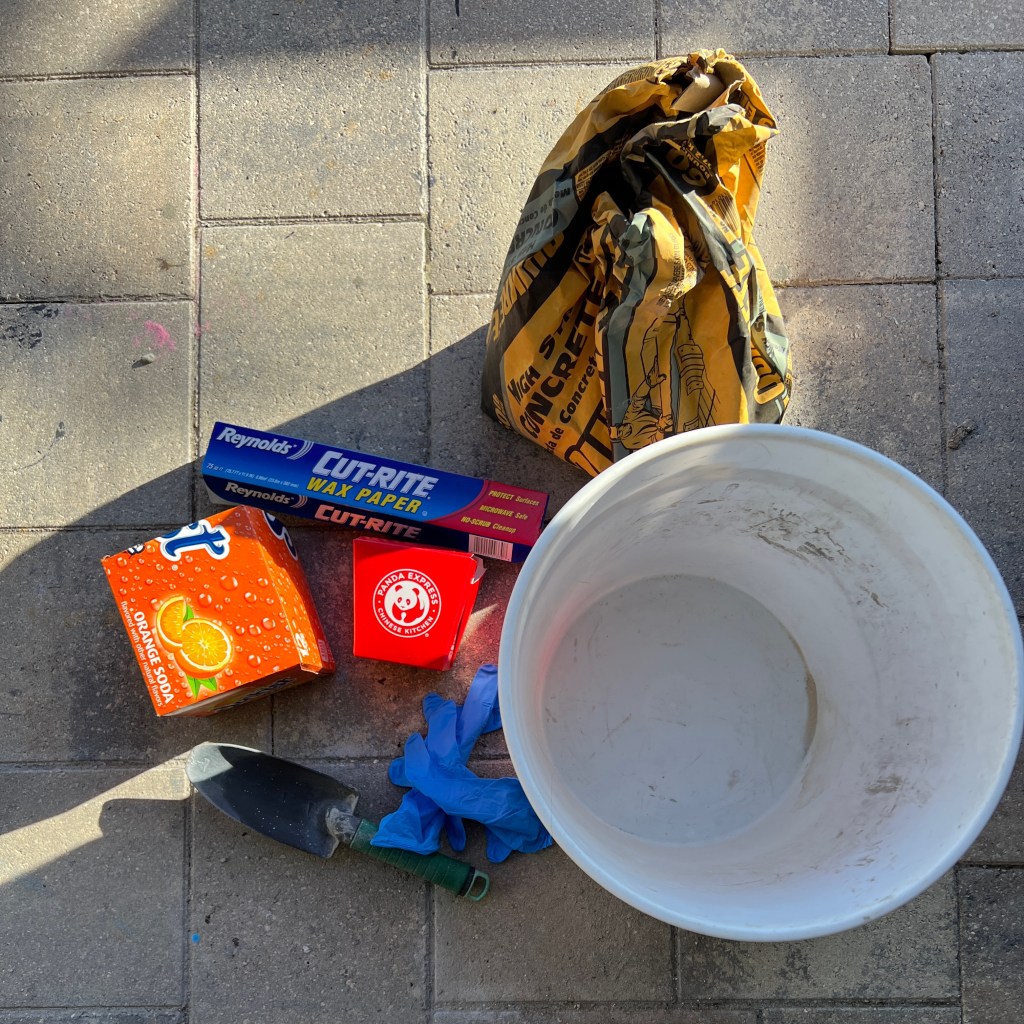
The wax paper is so the concrete doesn’t bond to the cardboard. Cardboard will absorb all the moisture and not hold shape.

Line both boxes with wax paper 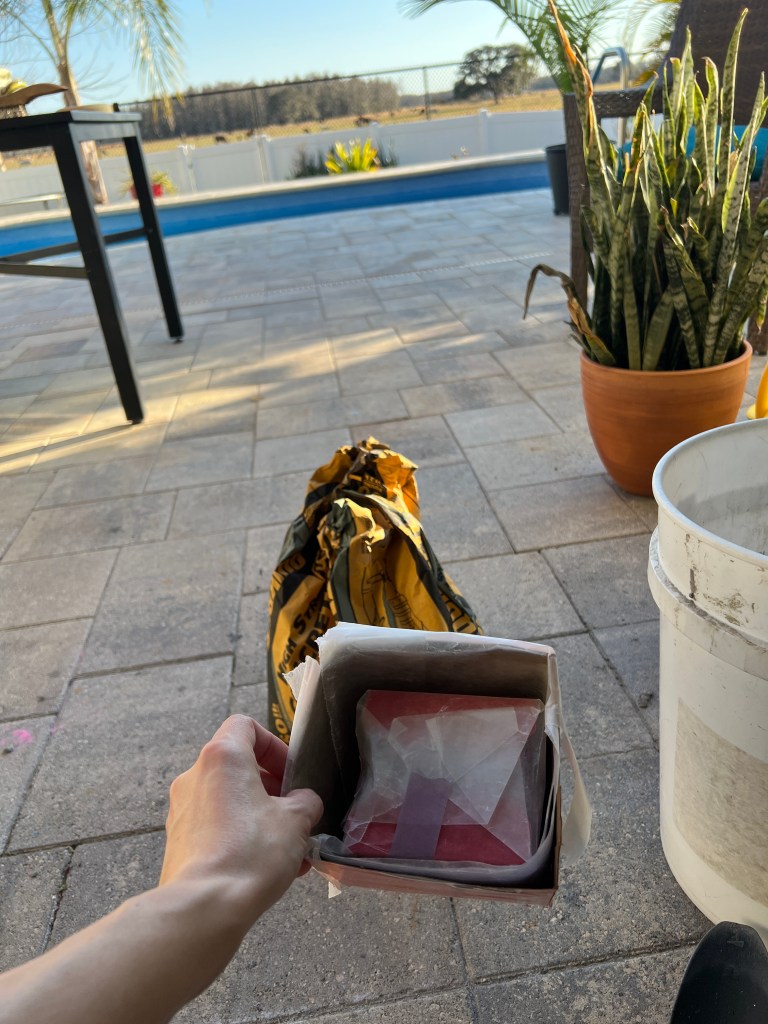
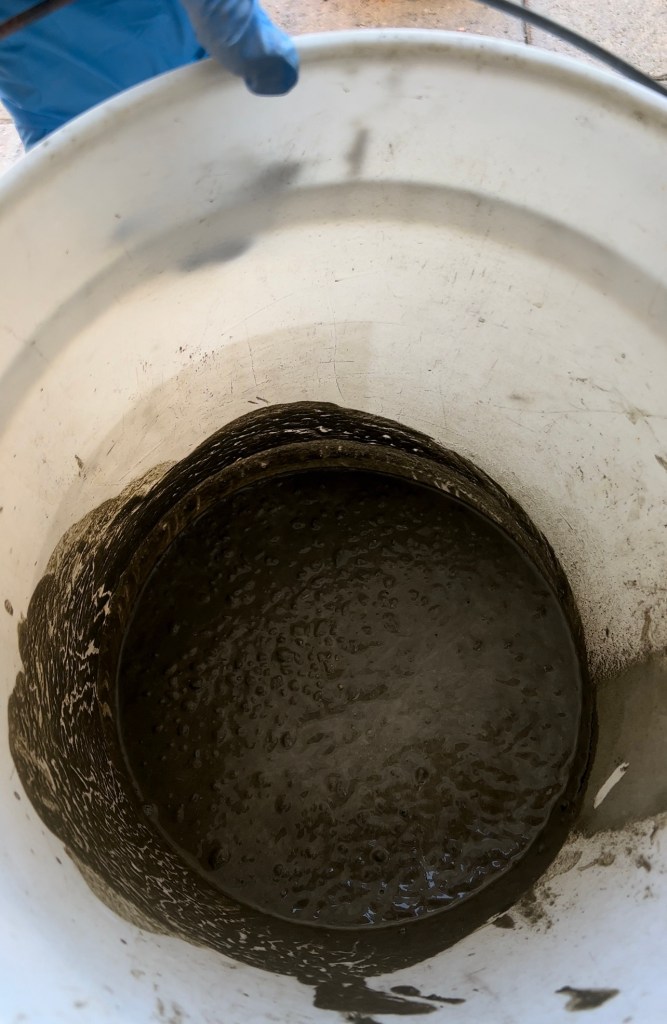
Follow instructions on the bag to mix the Concrete to your desired consistency.
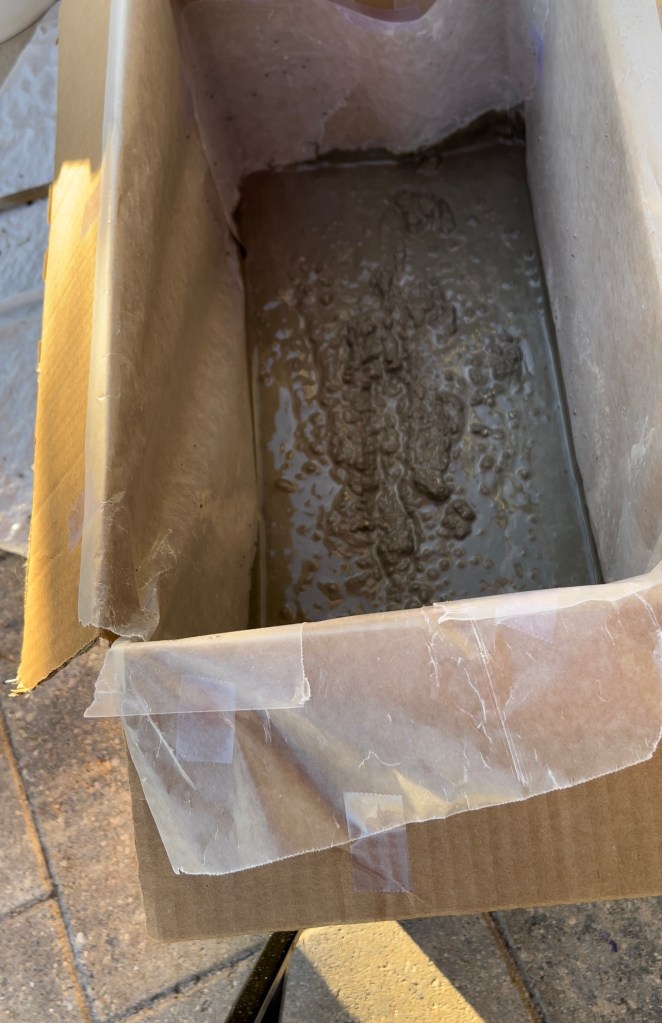
Add a small base layer before adding the second box 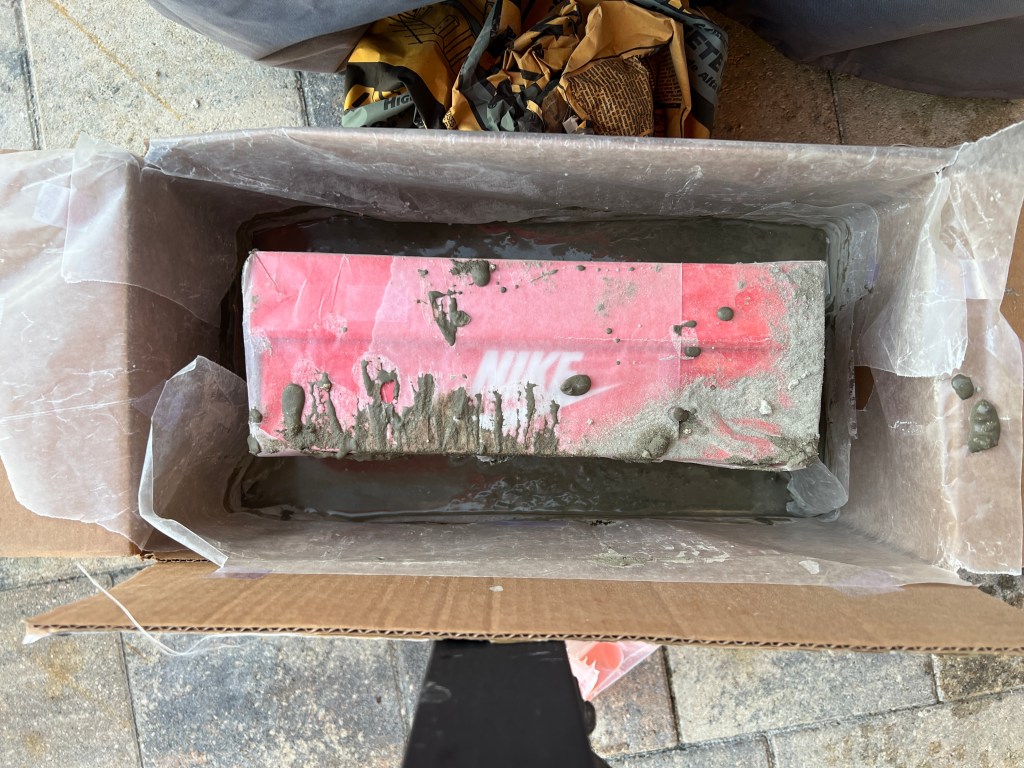

Let sit over night and then remove cardboard You’ll want to remove the cardboard and paper right away after it sits over night so it can finish drying out. At this point you can sand or smooth any rough areas, as the concrete is still workable. I used regular sand paper 300 grit.

Last but not east you’ll need to drill a hole for drainage, the concrete isn’t 100% hard at this point so it’s an easy drill.
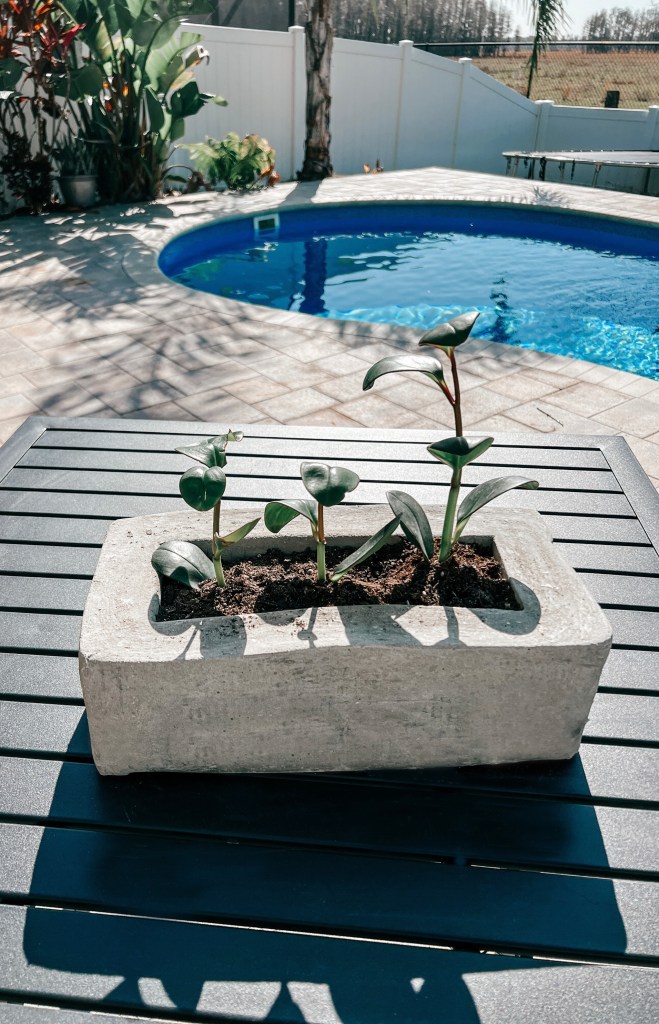
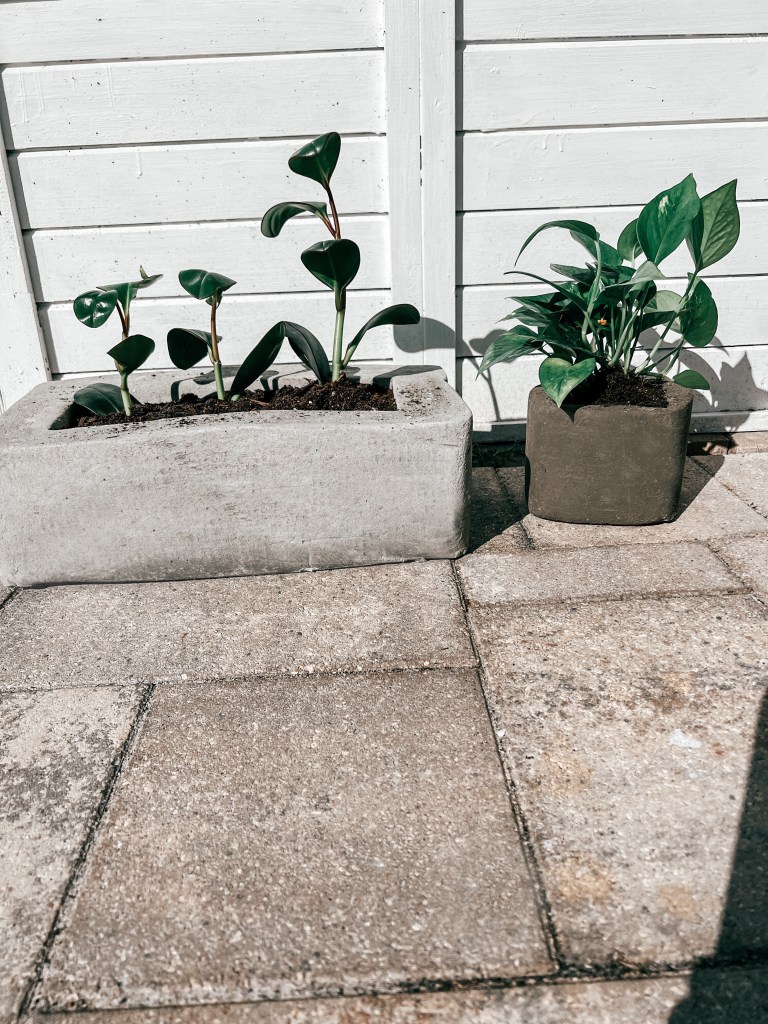
The smaller planter isn’t dry but I wanted to show you with the plant, I’ll update tomorrow when it’s the correct color!
Once it’s fully dry you can put concrete sealer or paint on to protect it. I’m going to use clear, I like the natural look.
-
Halloween Sweatshirt
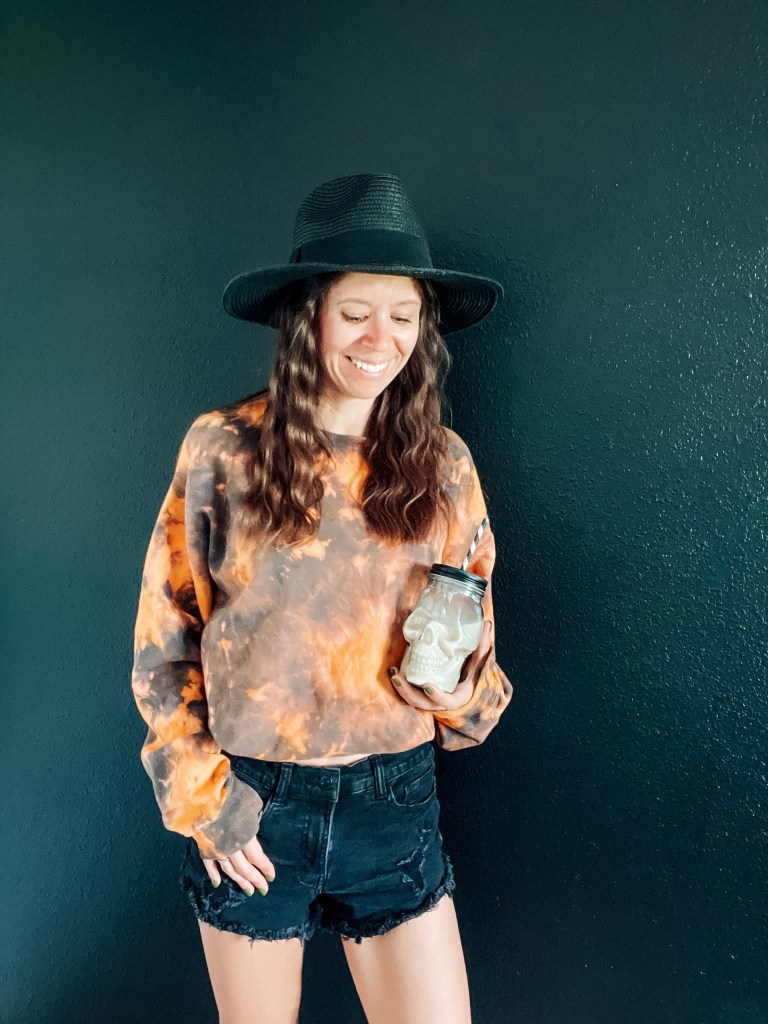
I’m obsessed with the Hanes comfort color sweatshirts! (Linked here) I get them in a size Medium and it gives a nice over sized look.
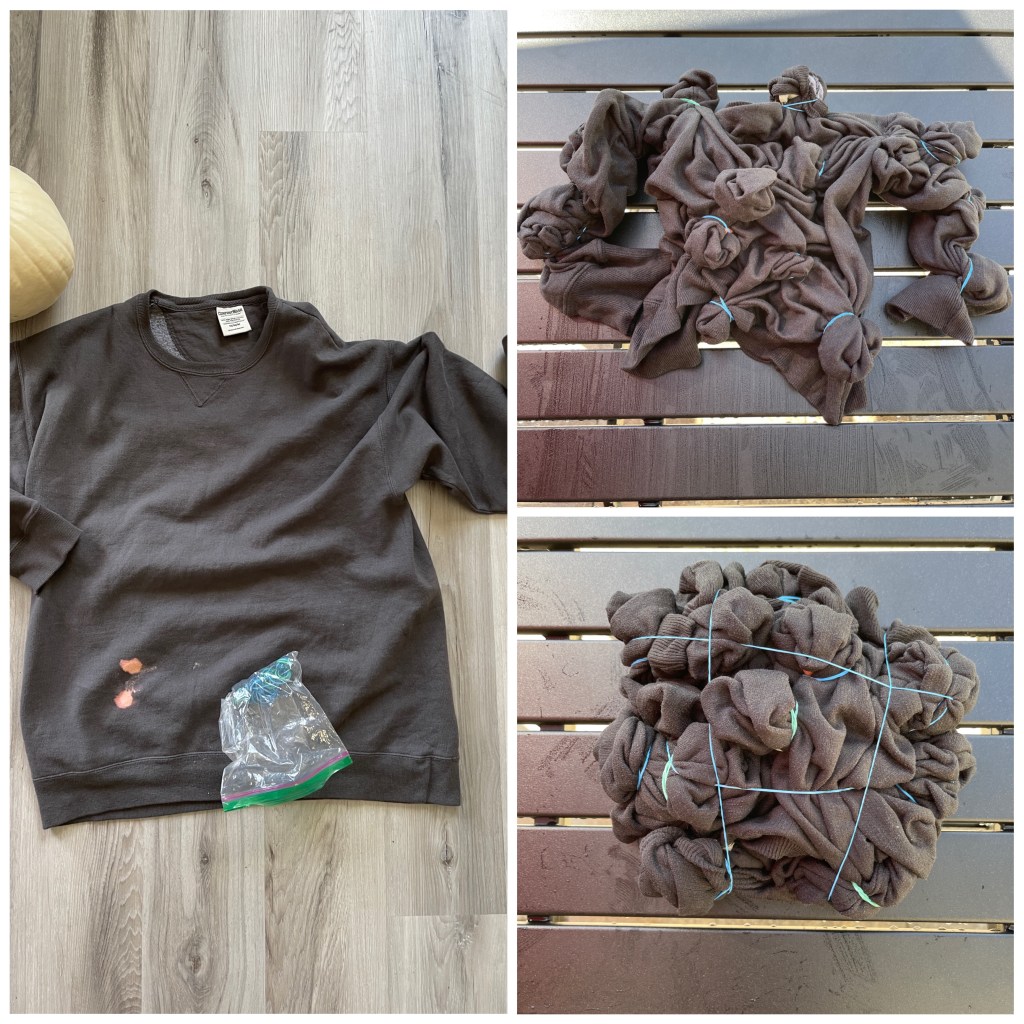
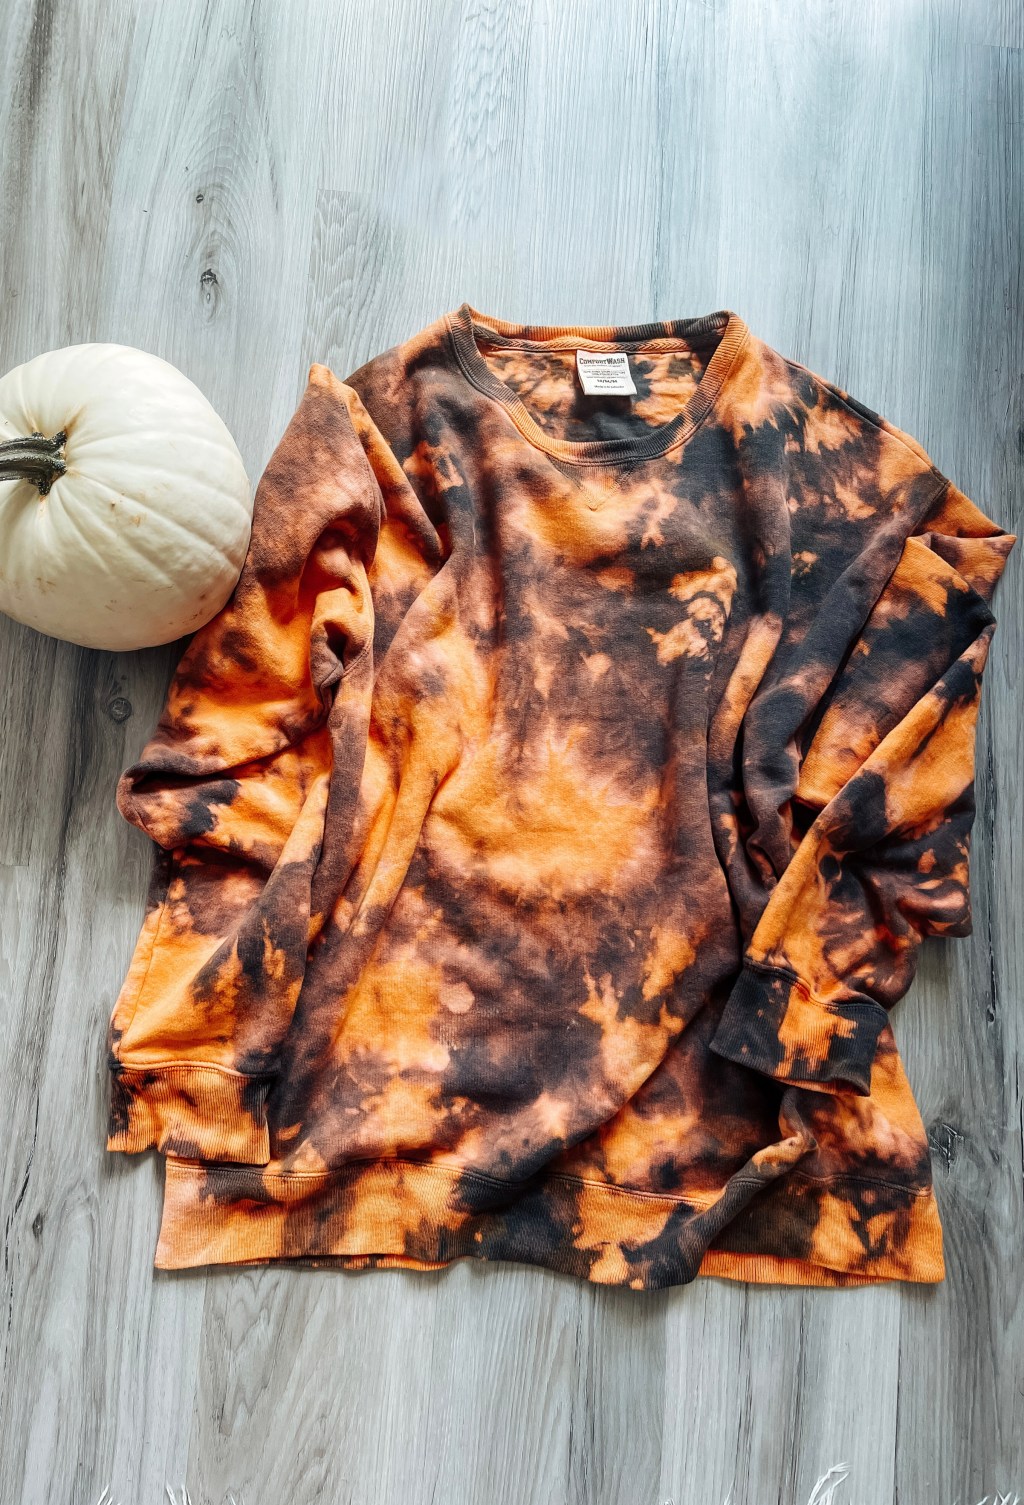
This morning while cleaning I got bleach on my newest color! So I decided to fix it with more bleach and Orange dye to make a Halloween Sweatshirt. Supplies I used were Rit Dye in Sunshine Orange, Bleach, and rubber bands that’s it! The whole process took me about an hour, and then another 40 minutes to wash and dry. I love how it turned out, and I’m calling it a happy accident!
I made little clumps that I twisted and banded where I wanted the bleach to go. Elastic those together into a big square sort of.

Normally I would use the cling gel bleach but I wanted it all to blend and since I spilled this one on me I decided to stick with it. Make sure to cut it 1/2 water 1/2 bleach. I started to see an immediate reaction and within 15 minutes it was done!
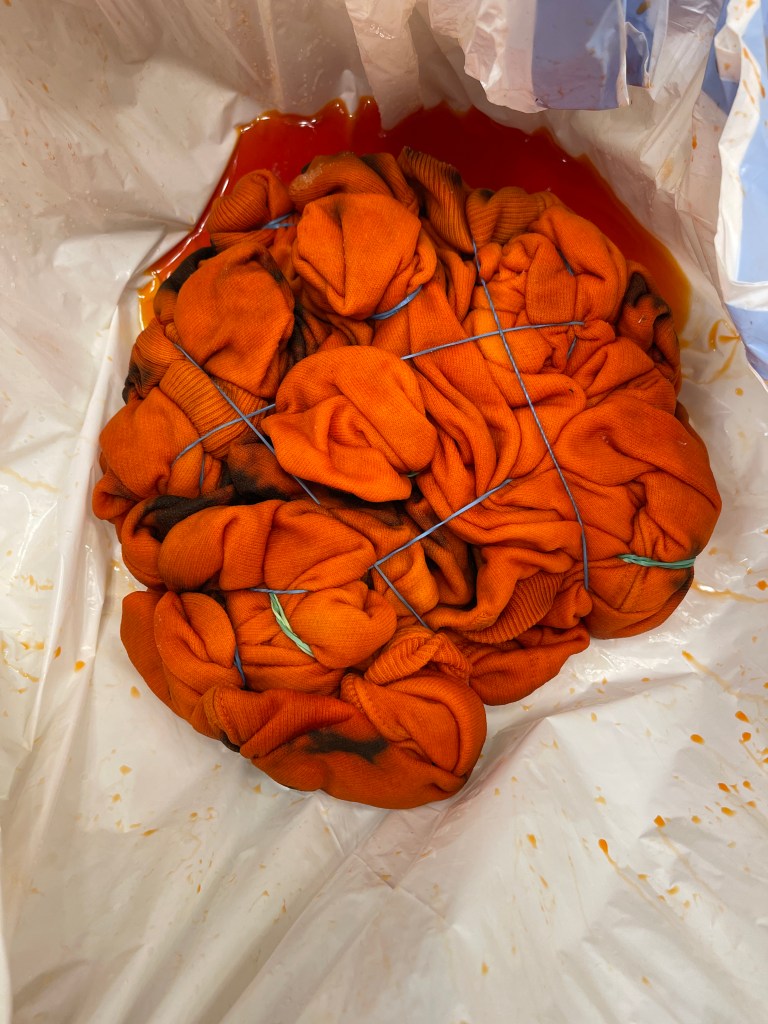
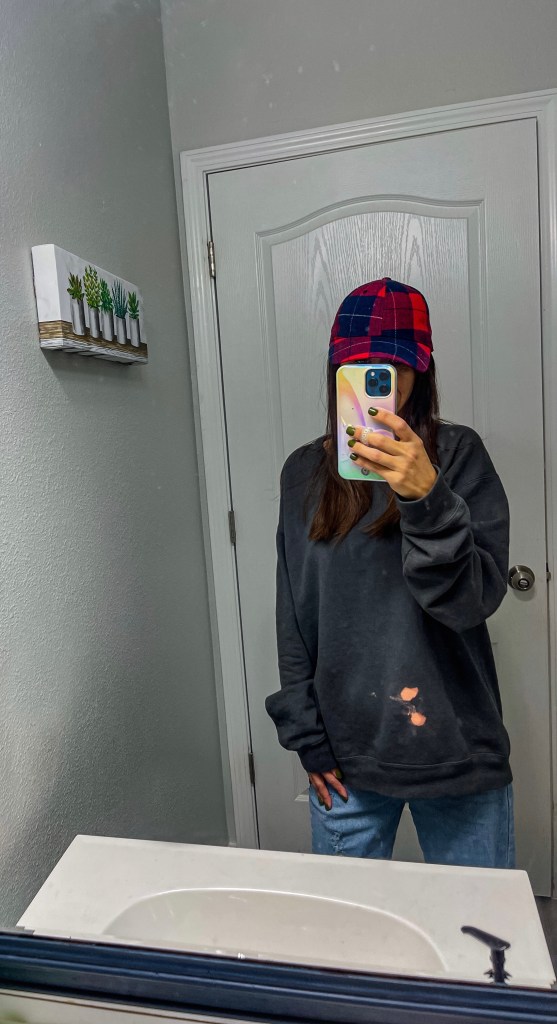
After adding the dye I let it sit for 30 minutes and this is how it looked. I love the vibrant color, but of course it fades a little when you rinse. Rinse until the water runs clear then un band. I popped it into the washer for a quick wash no soap then into the dryer. This is the results!! Of course I can still see the original bleach spot haha but it’s a little camouflage now. Let me know if you try this!!


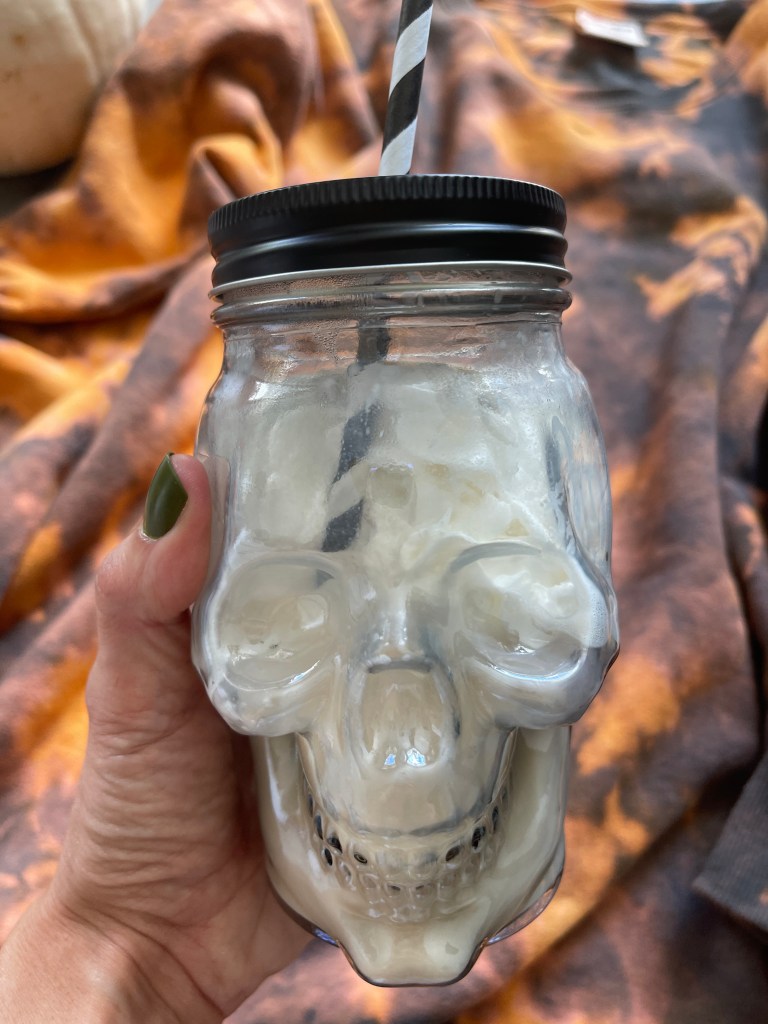
Forgot to link this cute Skull Mason Jar Cup

-

Pool Noodle Rainbow

Here is everything you need to get started!
I used the regular sized pool noodles, some hot glue, and yarn colors of your choice! The Drill saves so much time! I found a foam ball from the kids toys and it fit right in the hole, then wedge the largest drill bit I could find in between. I felt like McGyver, but it’s a hack you can appreciate!! The previous rainbow we made, I hand wound and it took days!! I still can’t believe I did that.
To give it some stiffness I added the copper pipe because that’s what we had leftover in the garage, but any bendable pipe would work. I also wove wooden skewers behind the noodles to hold it together!!
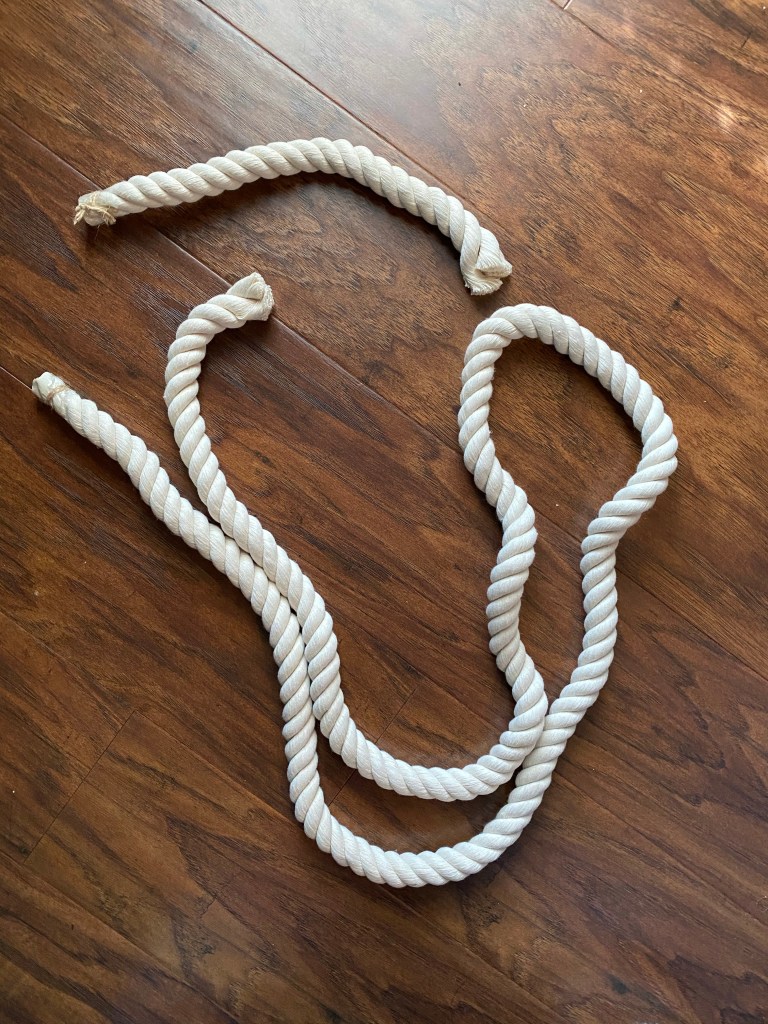
For the cord at the bottom I unwound the rope, cut into 6 inch sections and then folded those in half and frayed the ends 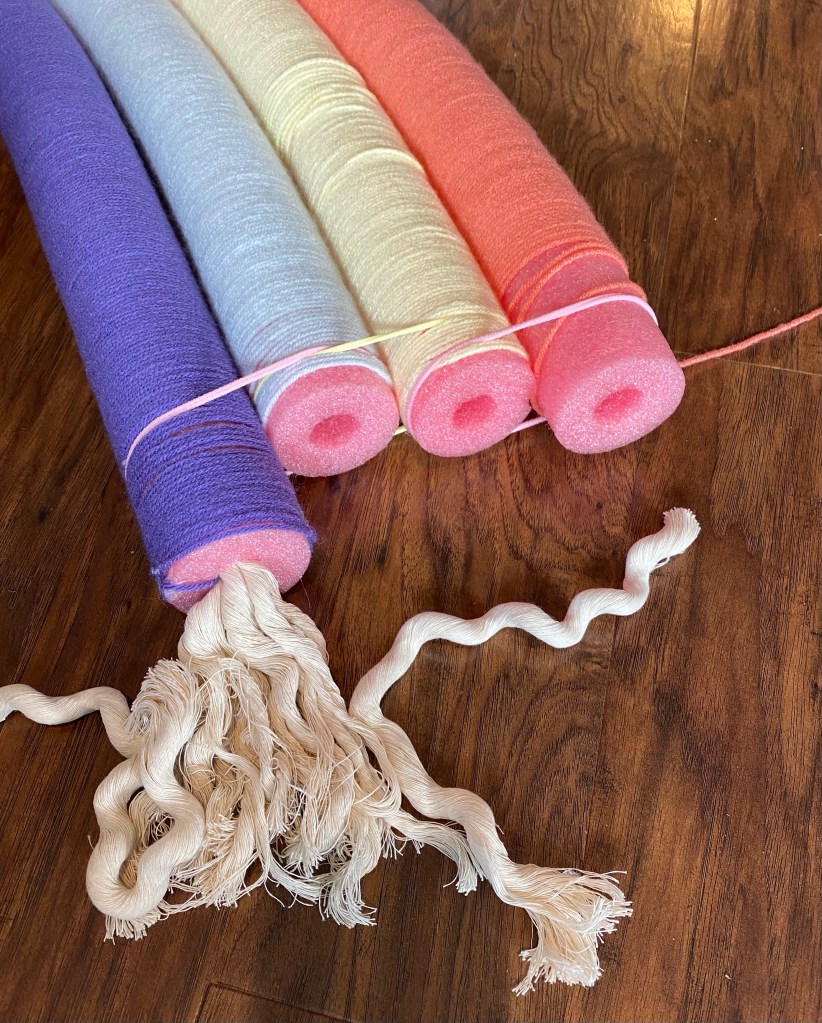
To finish I glued the rope into the holes and then covered the bottom 2 inches of the rainbow with the undone rope to coverup the ends 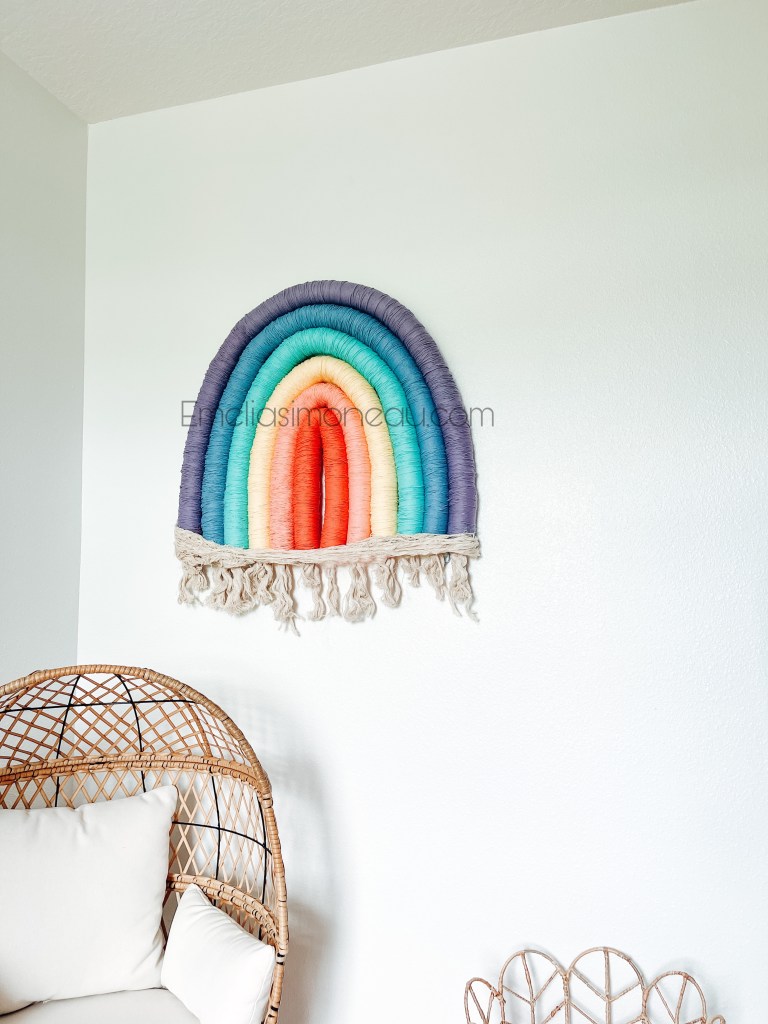
Let me know what colors you would put together!

-
Daisy Wall in Harper’s room

Decided to give Harper’s wall an update! I drew this sloppy Daisy and printed out with my vinyl cutter. I use the silhouette cameo and ordered these two vinyls. White vinyl and Yellow vinyl It’s important to note, make sure you get removable sticky vinyl, you don’t want to take the paint off the walls!!
We love it so much and I have so much left over vinyl that I may add a 3 or 4 more, what do you think?
I wanted to share it with all of you so here is the file
Download the JPG file and trace it or click this link and download the SVG file.
If you end up making something I would love to see in the comments!!


