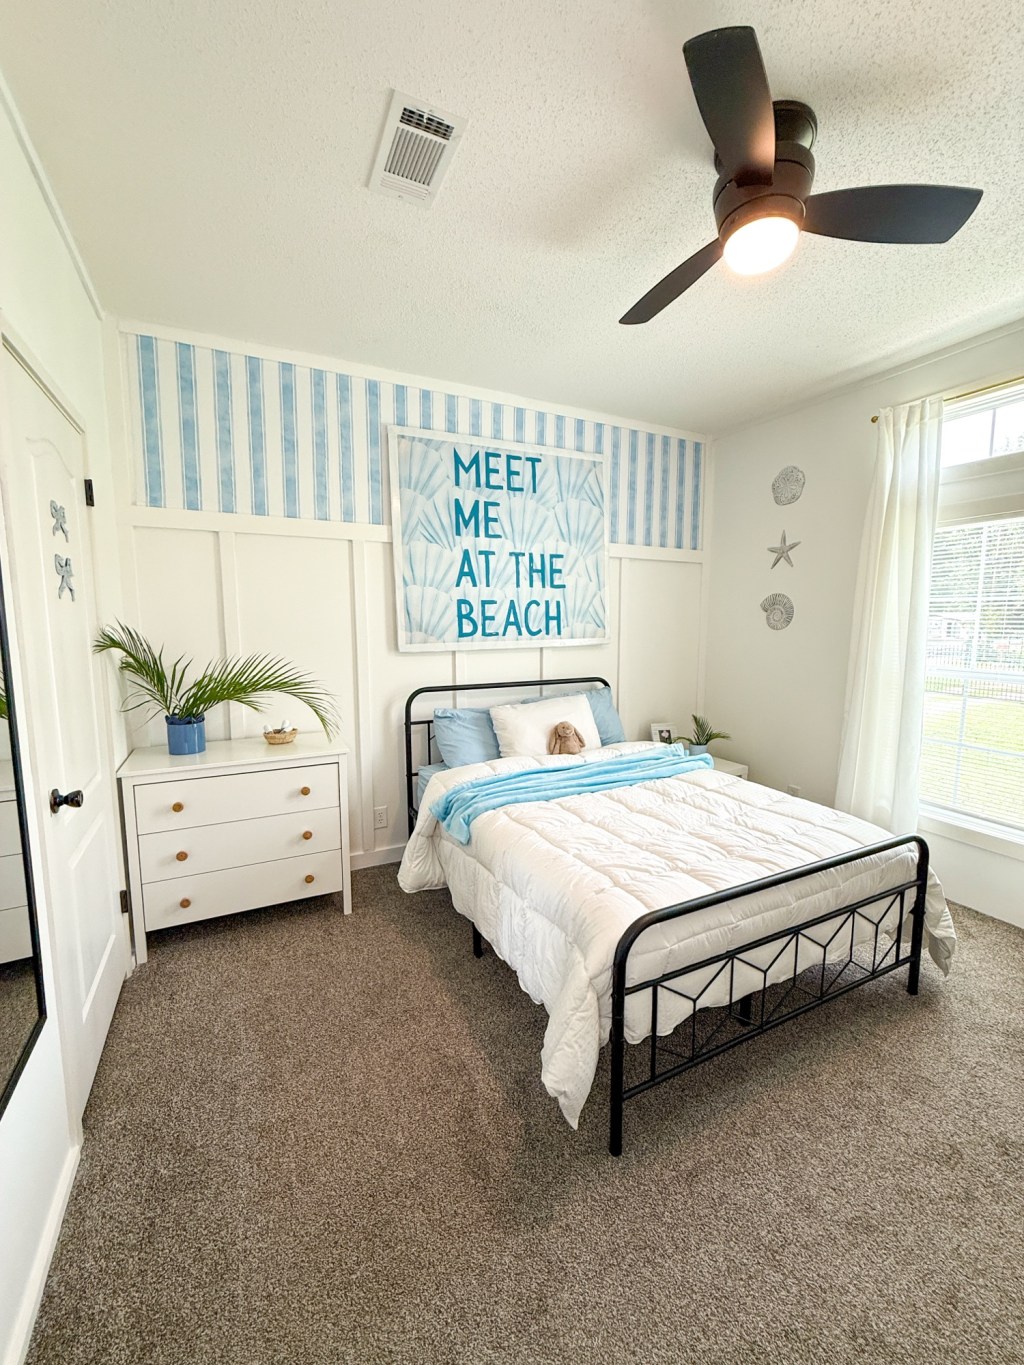
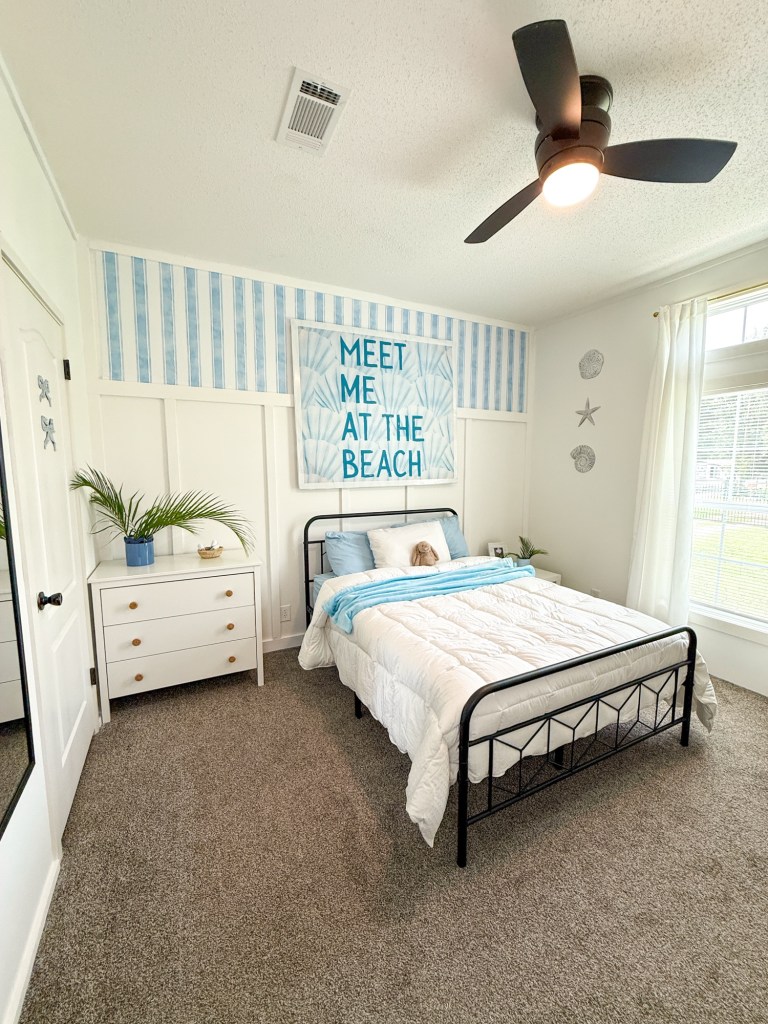
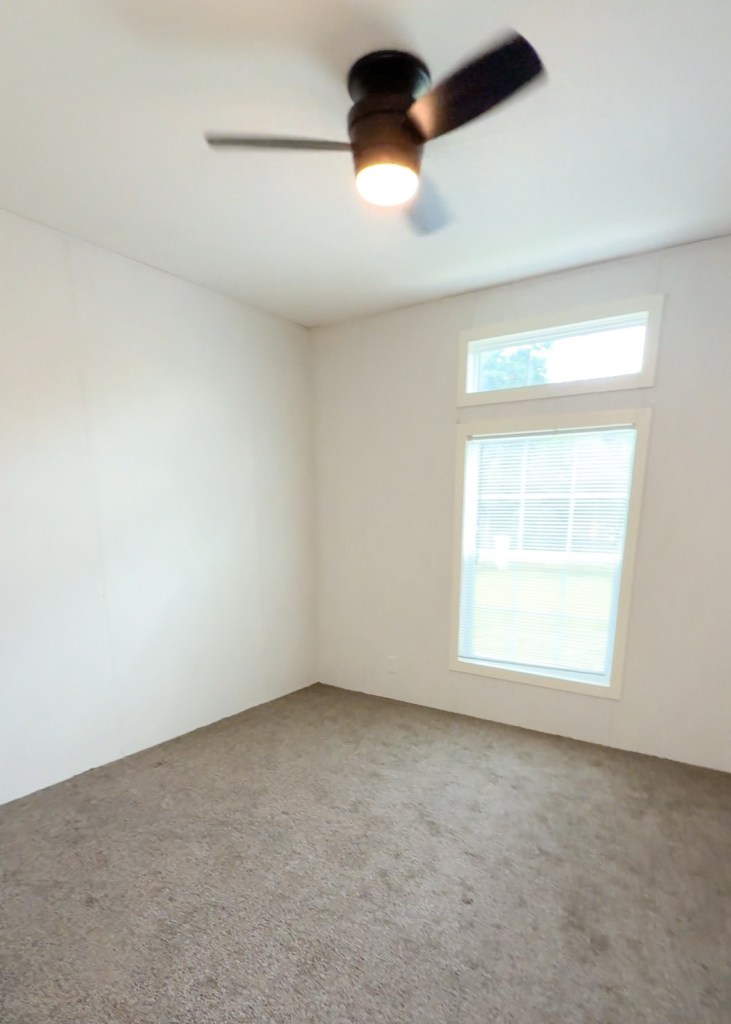
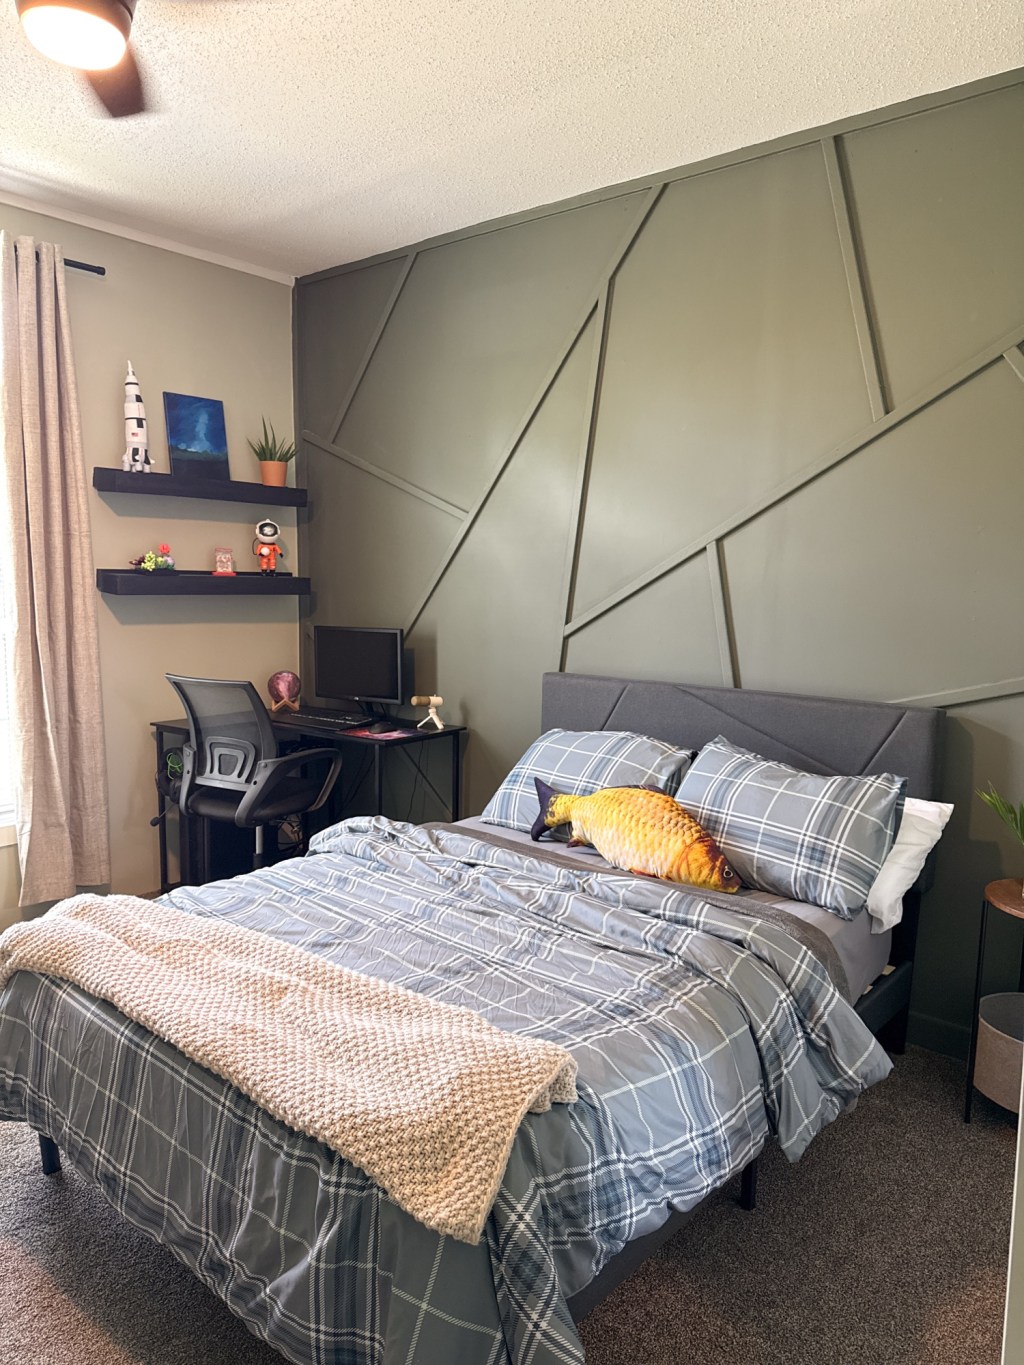
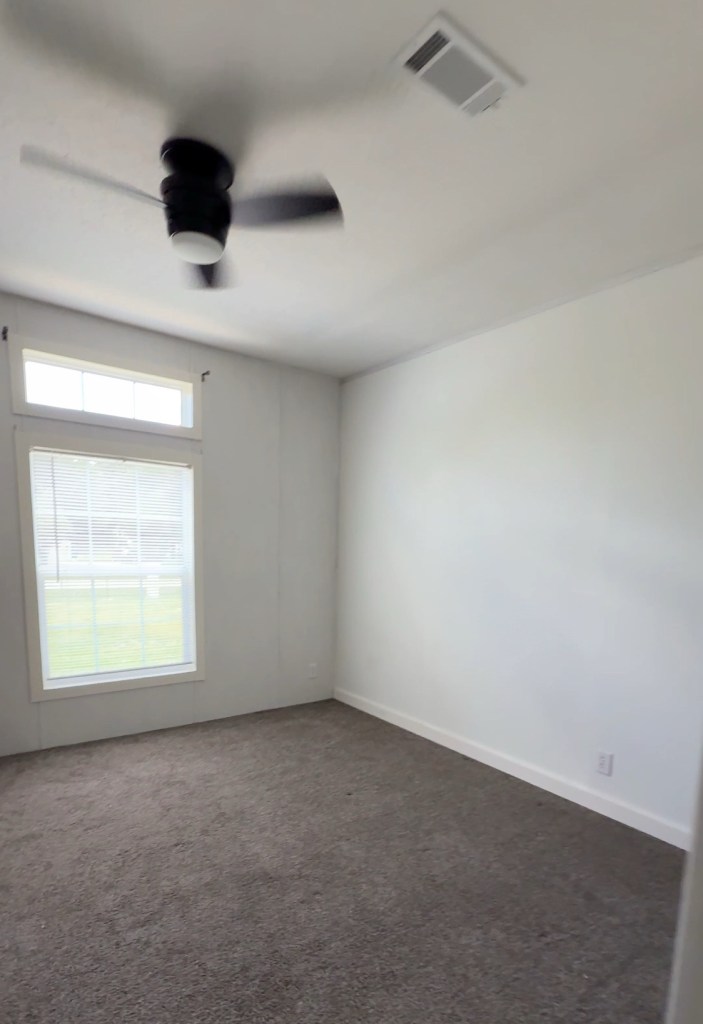
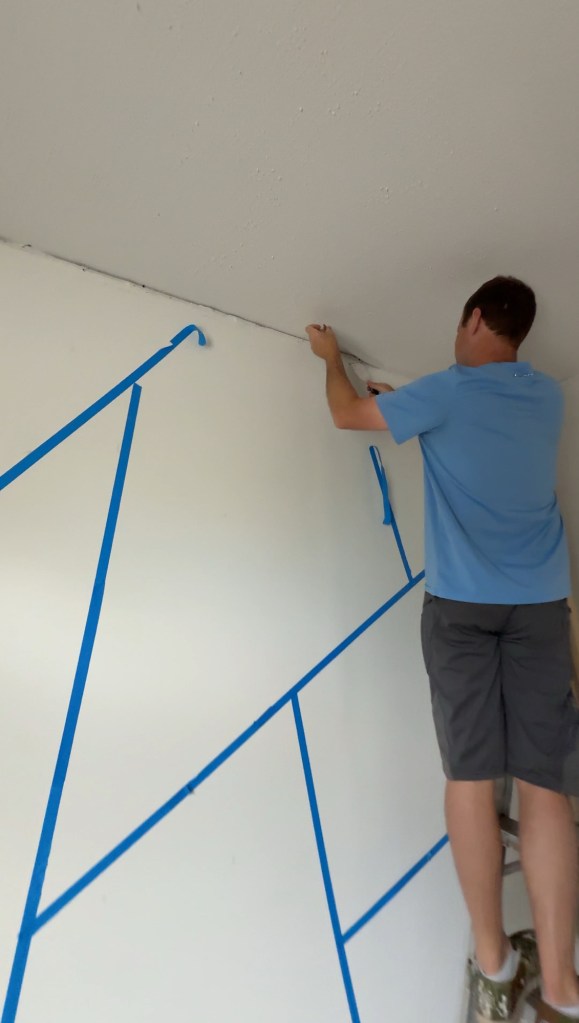
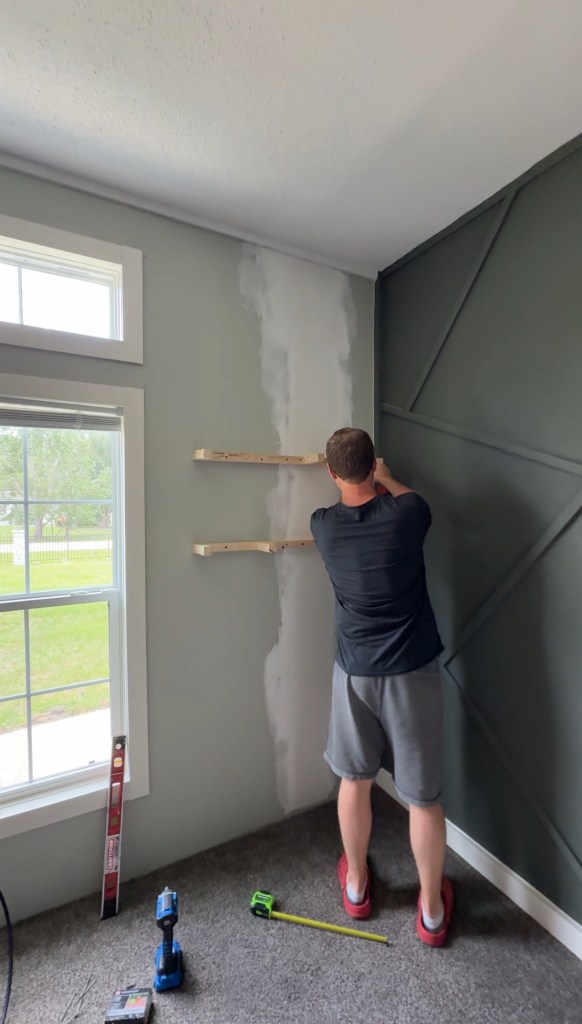
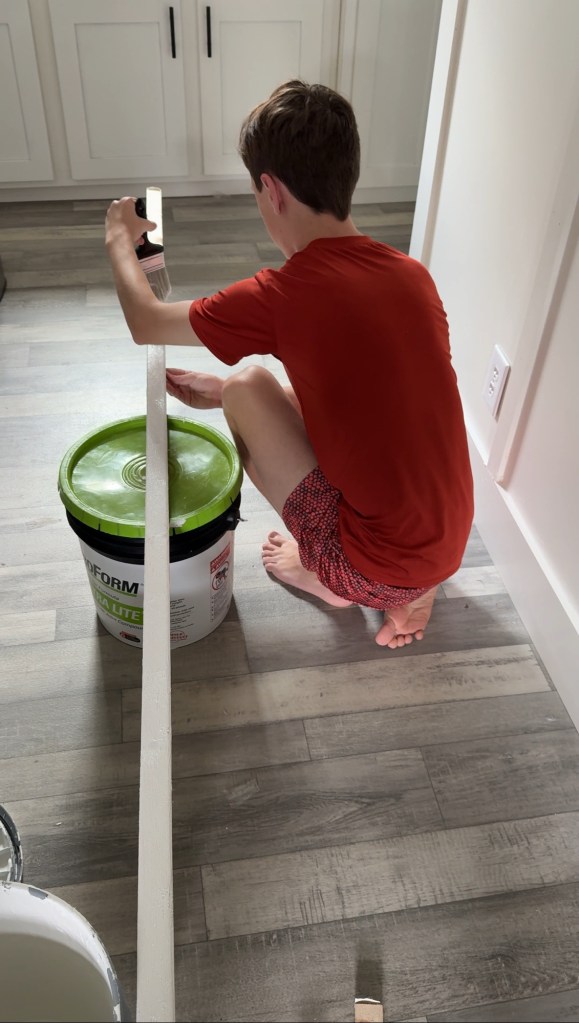
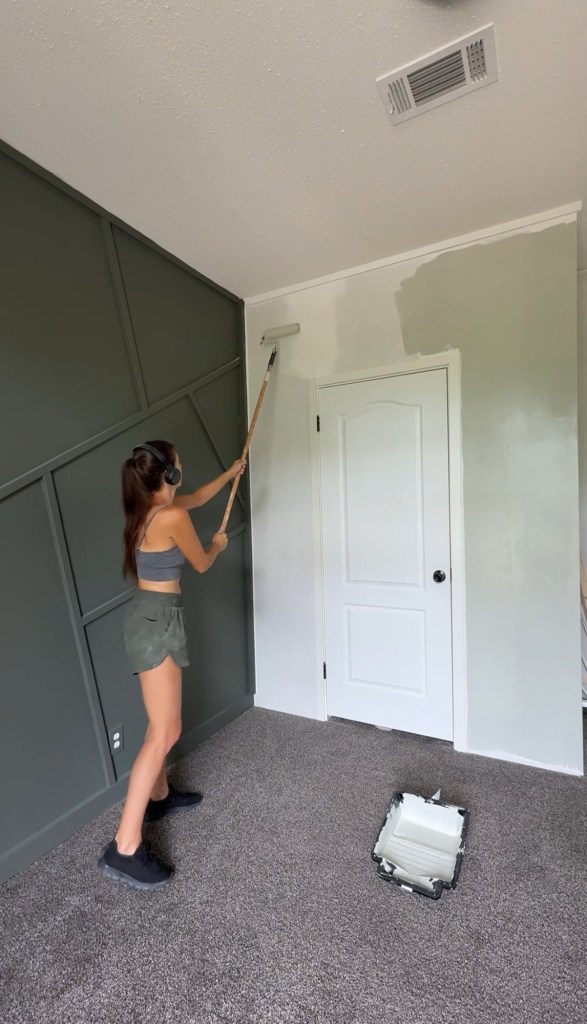
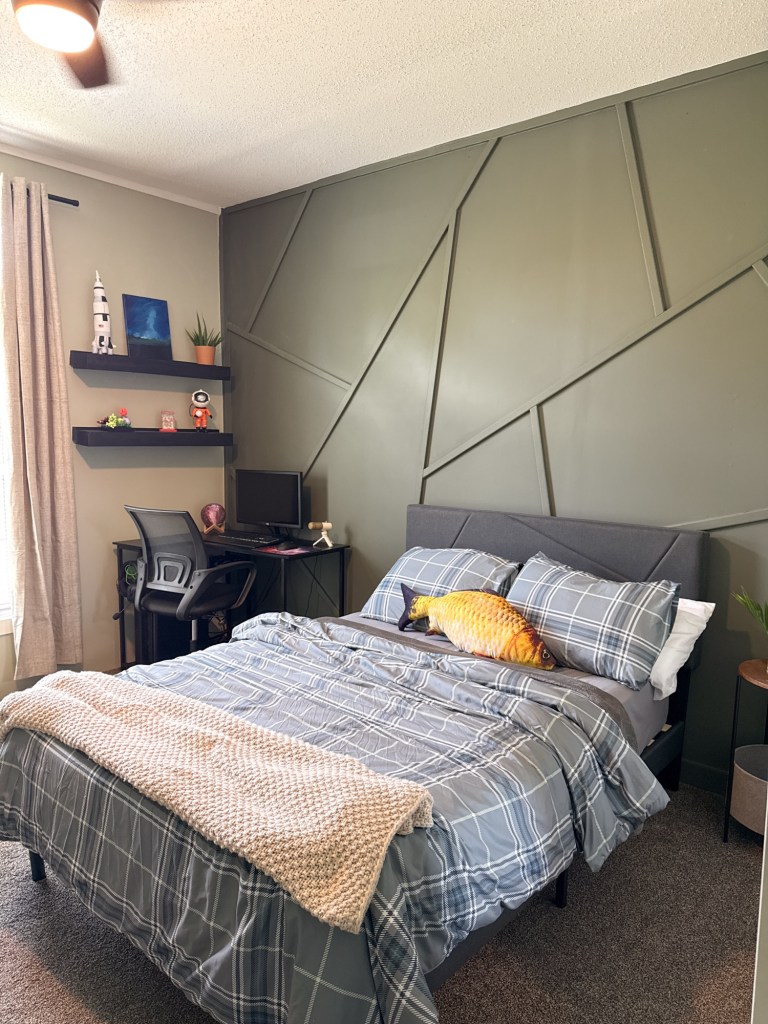
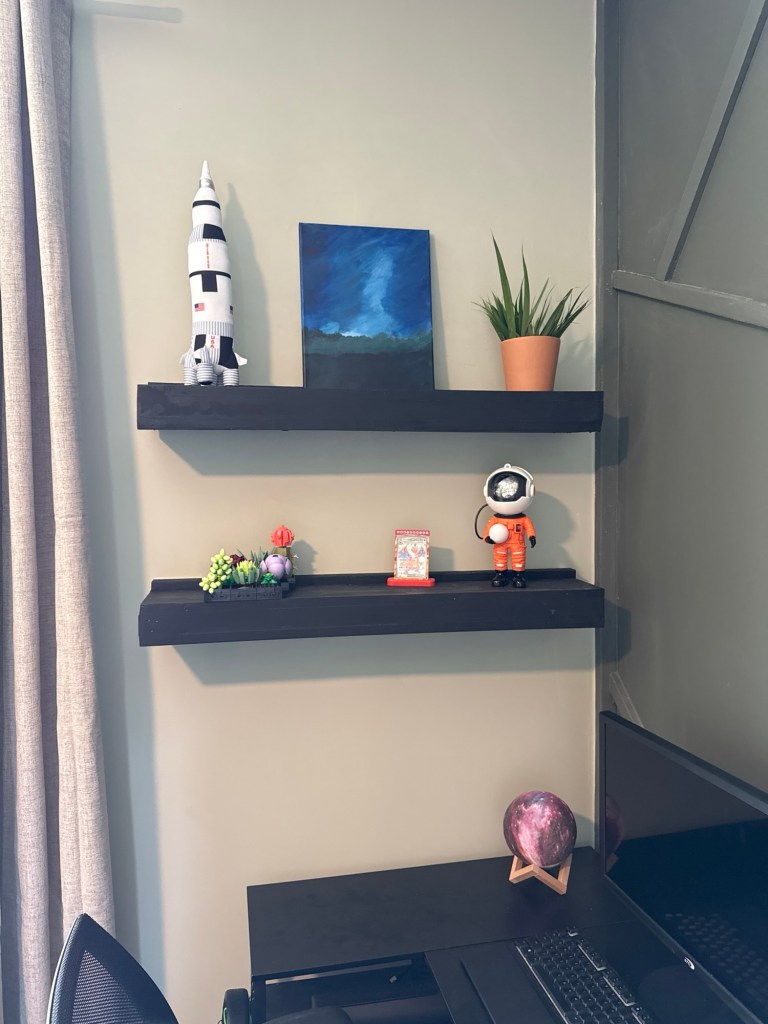
Here’s the scoop on Harper’s new room! We took down the wall strips, added recycled denim insulation for soundproofing, and some new drywall and paint!
It’s been a while since I shared all the details on our new construction manufactured home so here goes..
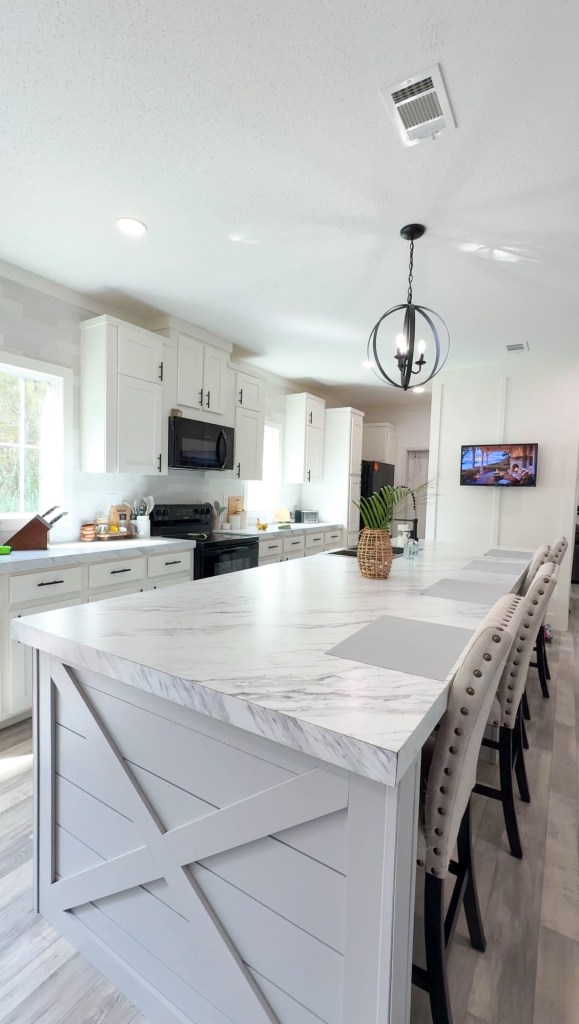
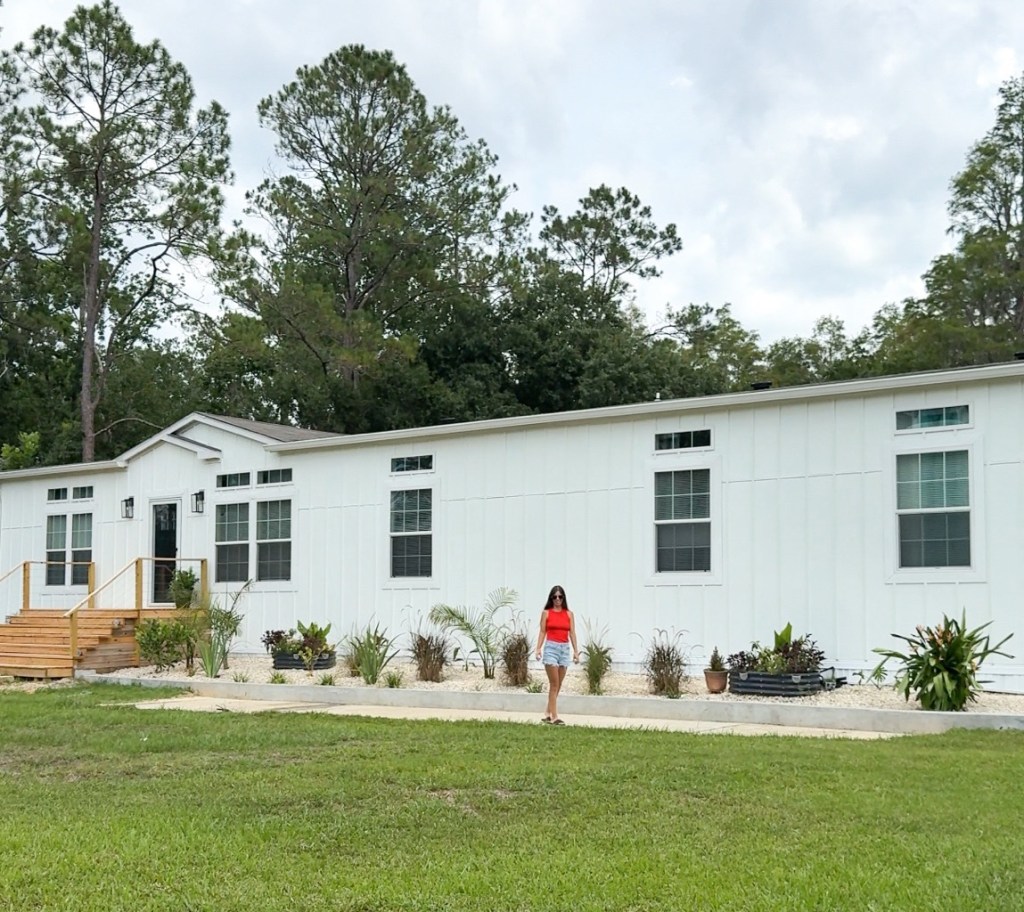
Our home is manufactured by Live Oak Homes in Georgia, and this model specifically is The Fancy! We love it because not only was it affordable at $179,000, it also came fully furnished with all the furniture, home decor, rugs, and appliances!
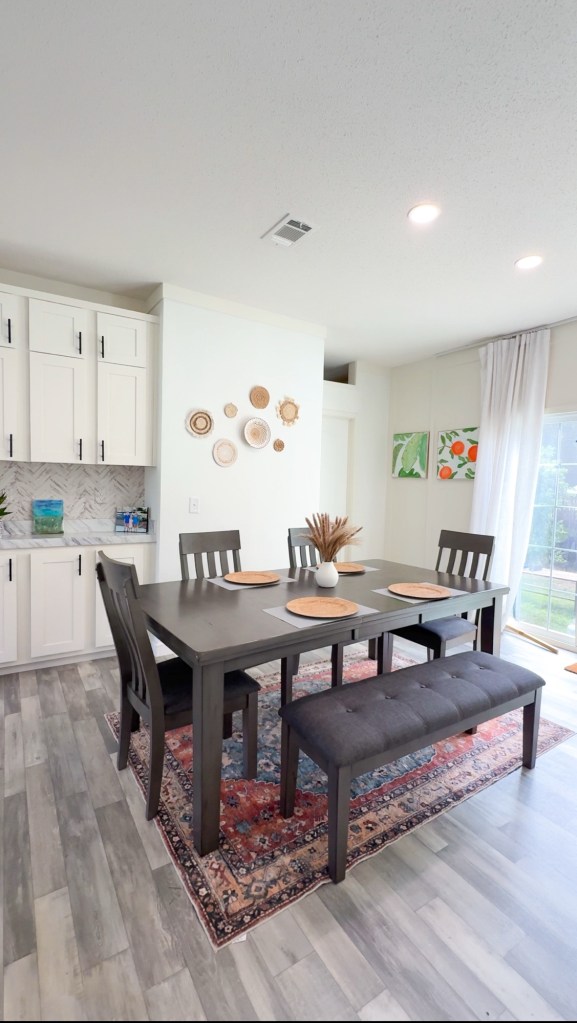
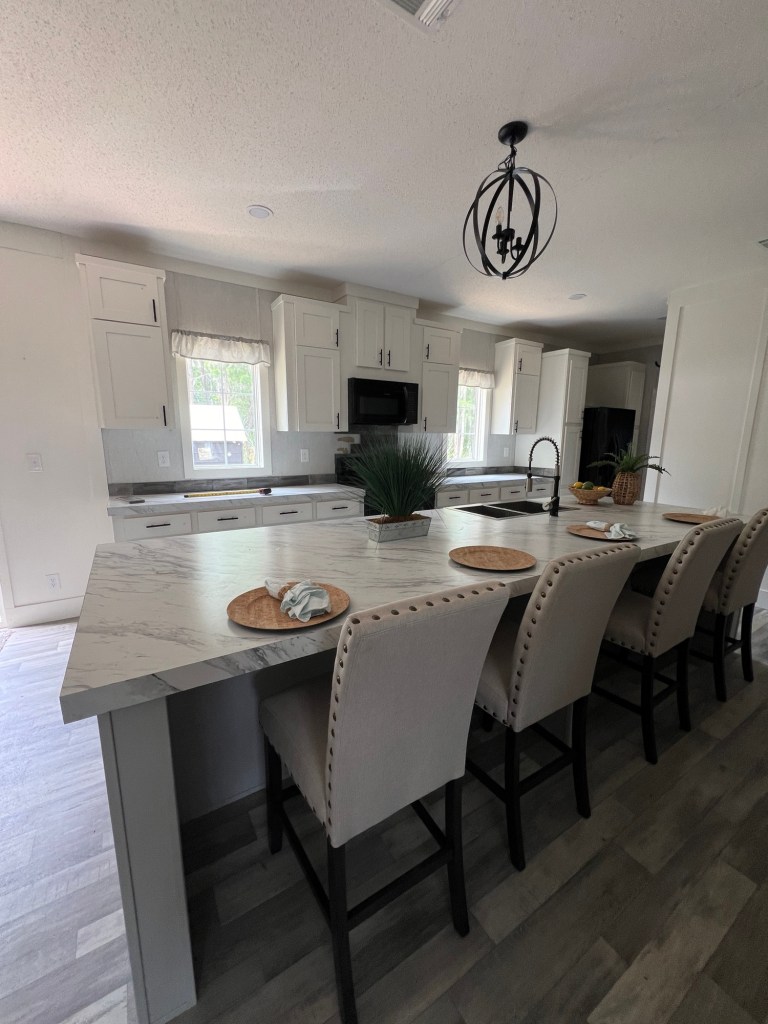
A little more details, it’s 4 bedrooms, 3 bathrooms, and 2254 sqft, plenty of room for our family of five! We love the fact that it has 2 living rooms, a dining area, and an island big enough to fit the whole family (it’s 11.5’ long!)
We have made some changes over the past year with things like the kitchen backsplash, board and batten siding, and refinishing the walls to name a few.
The home came with a home warranty and they were able to change some things out for us at no additional cost, like a chip in the counter top being that it was the model home. We had a couple of foggy windows that were replaced, and a crack in the ceiling from the delivery process that they were able to patch up.
If you’re thinking about a manufactured home, I would definitely recommend one if you are looking for that affordable lifestyle and a home that is easy to customize and upgrade!
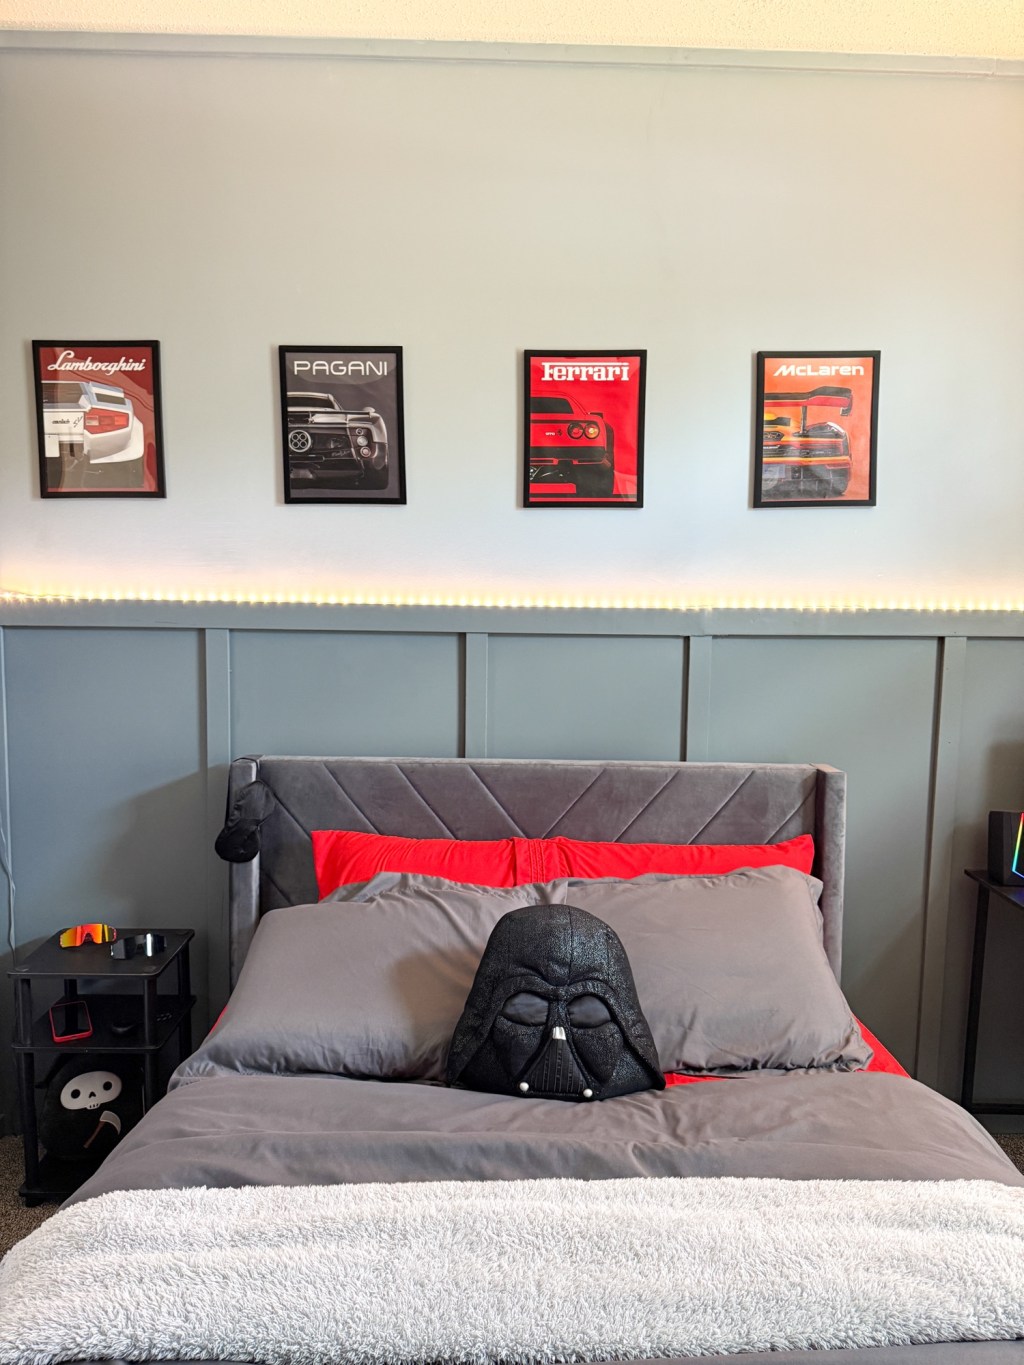
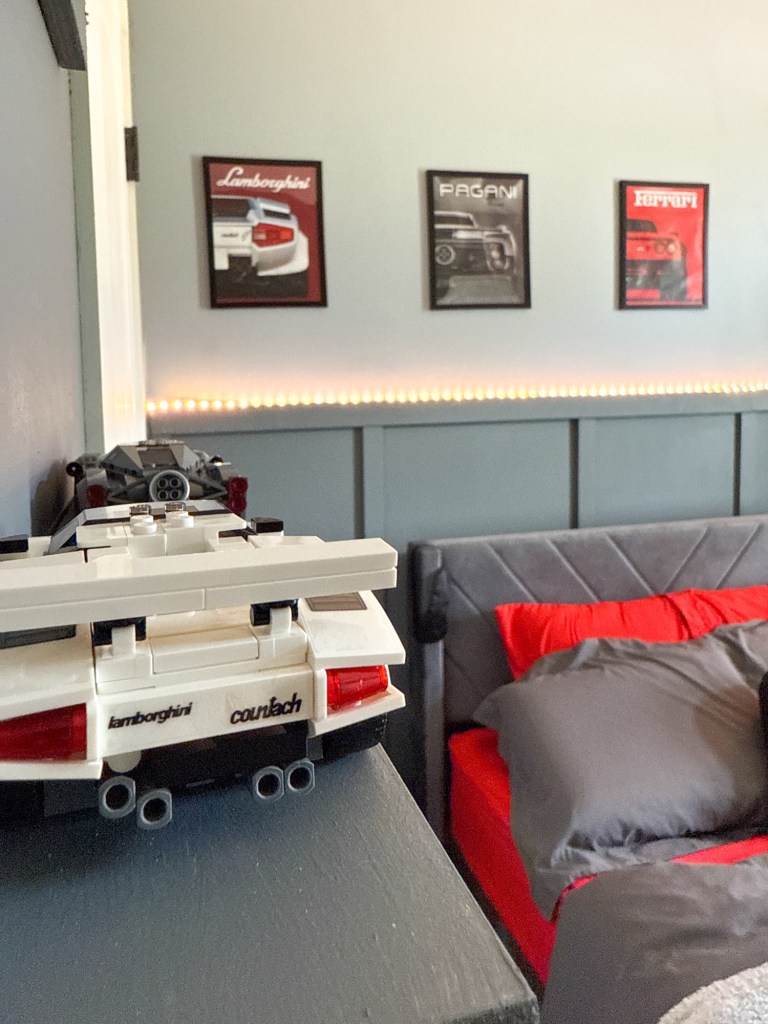
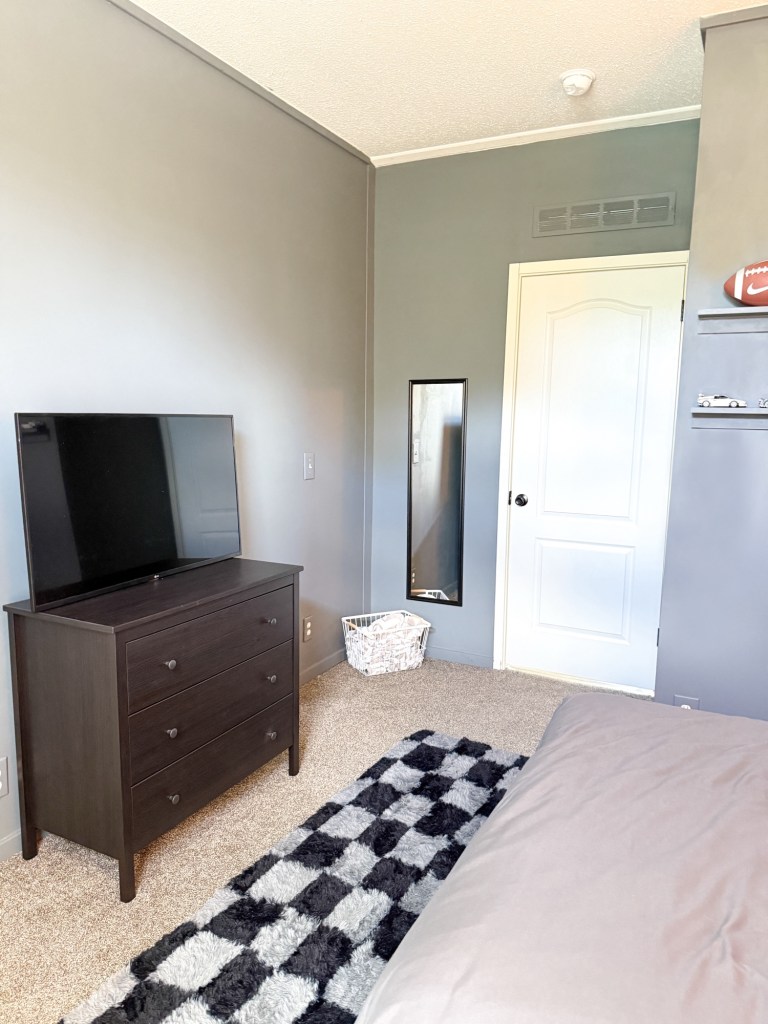
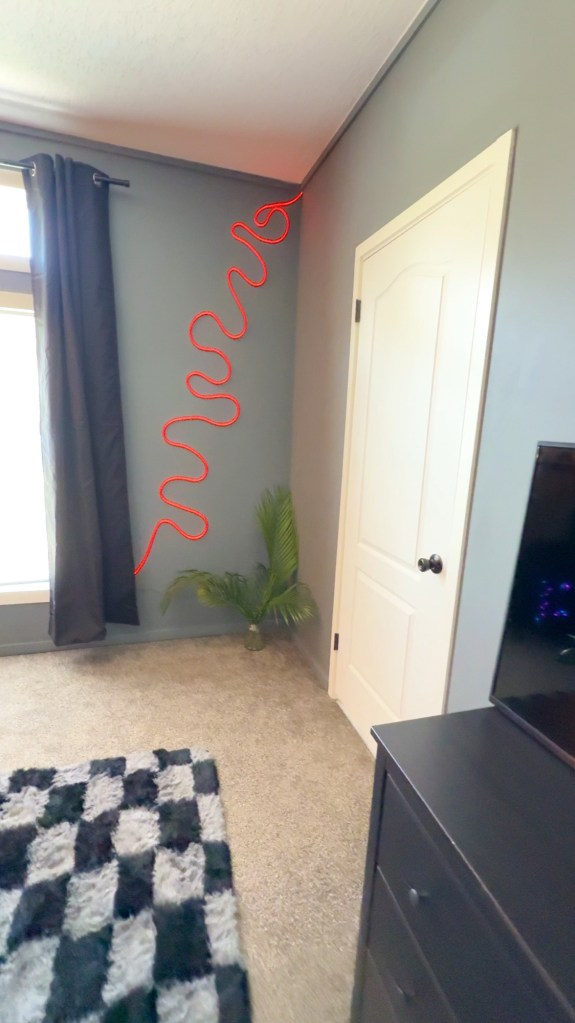
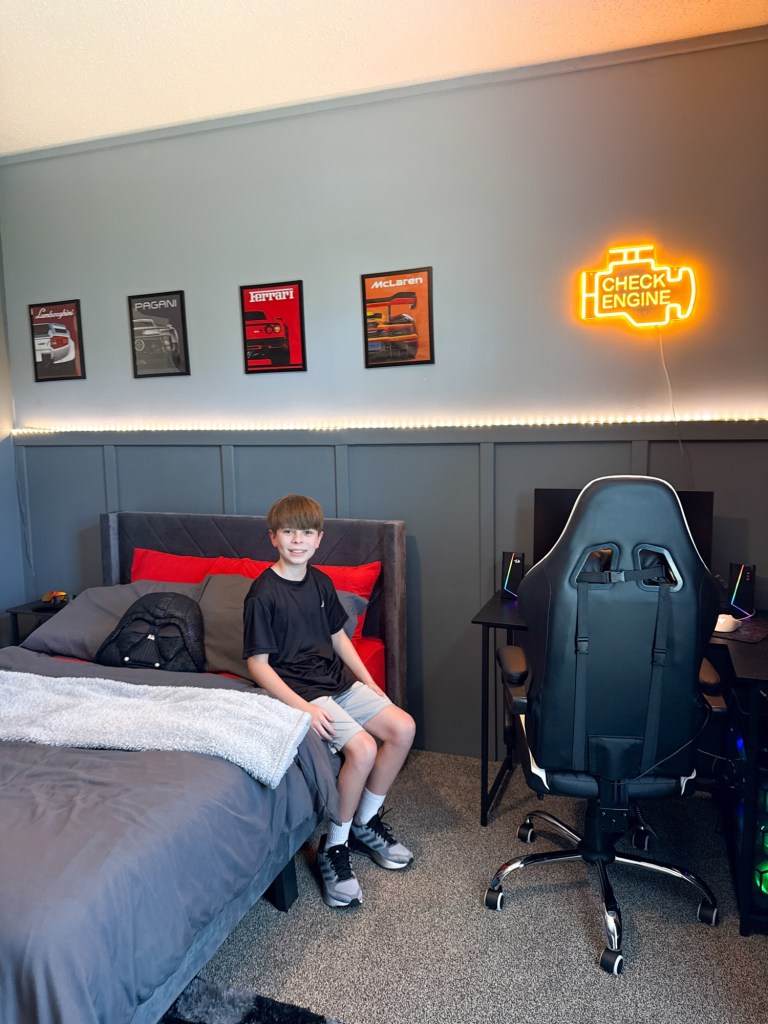
We just finished giving Miles’ room a fresh new look! He requested a Supercar theme bedroom with ferrari red sheets. Checkout the before and all the demo here:
Before Ferrari, Pagani, Lamborghini, Mclaren
And here’s a video on how it all came together
Paint colors:
•Voyage
•Almost Charcoal
I have links for everything I used to put the room together from my amazon store ⤵️
We’re still removing those ugly wall strips and smoothing out the walls. Right now we’re working on Liam’s room, its getting an upgrade with a wood accent wall and some fresh paint. Scroll to the bottom for links on what we used, and don’t forget to watch and like our video!
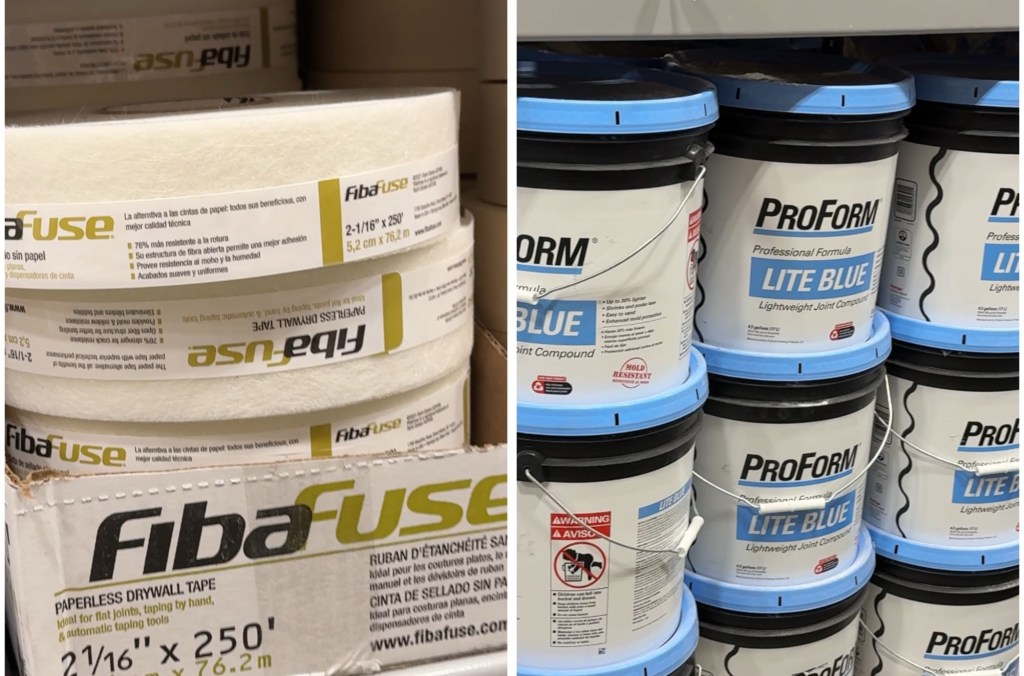
Heres what we used to smooth the walls
(This post contains affiliate links where I could make a commission )
Come take a tour of our 2024 double wide! We moved in last August so it’s almost been a year. A lot has changed but a lot of it still looks the same, so come check it out!
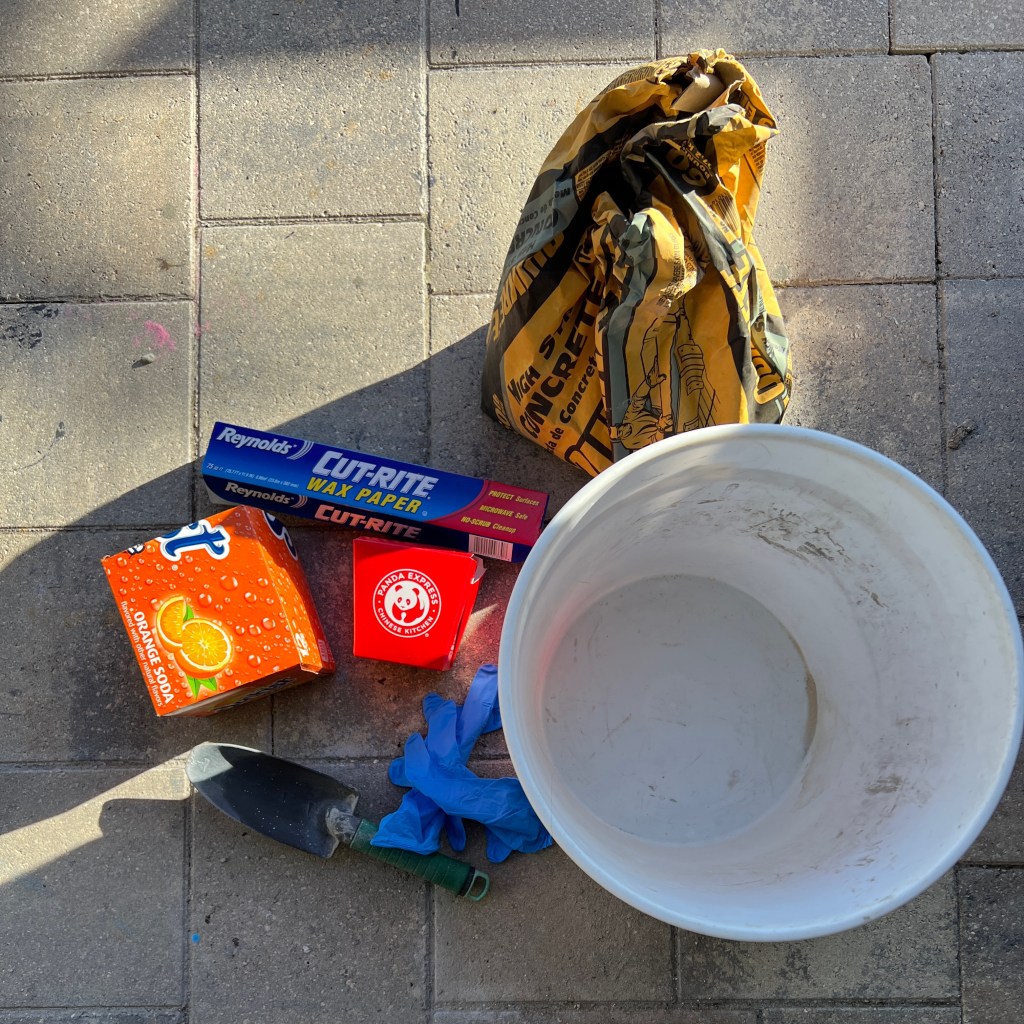
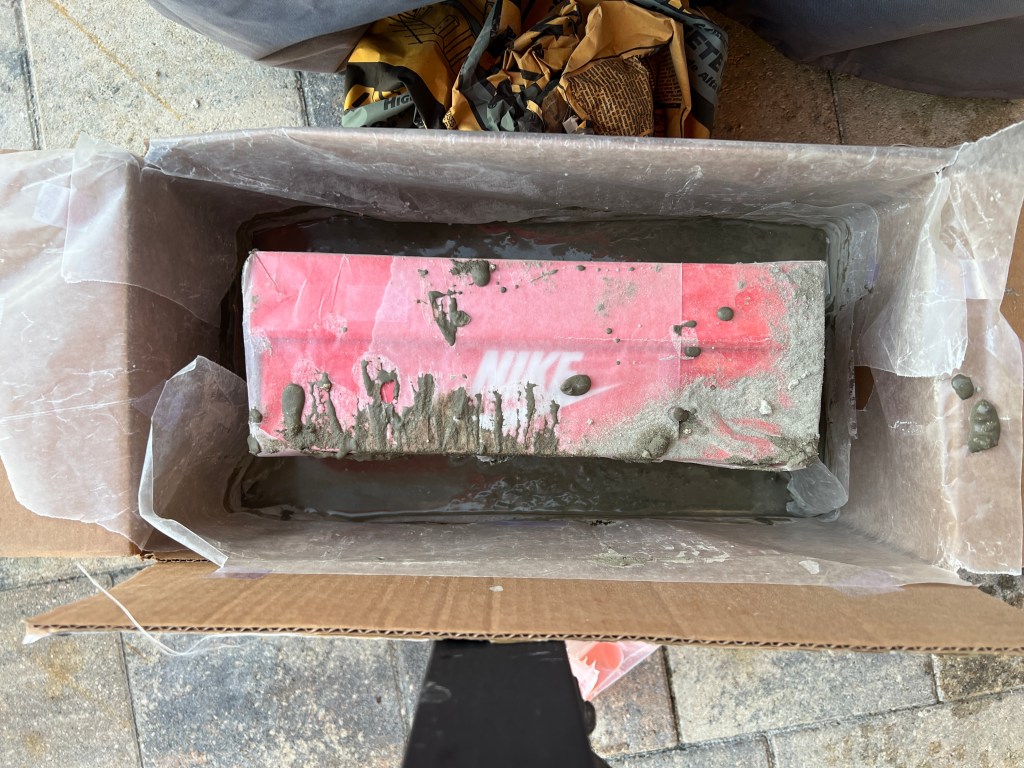
A 5 gallon bucket to mix, quickcrete, water, 2 boxes, wax paper, gloves, & something to mix with.
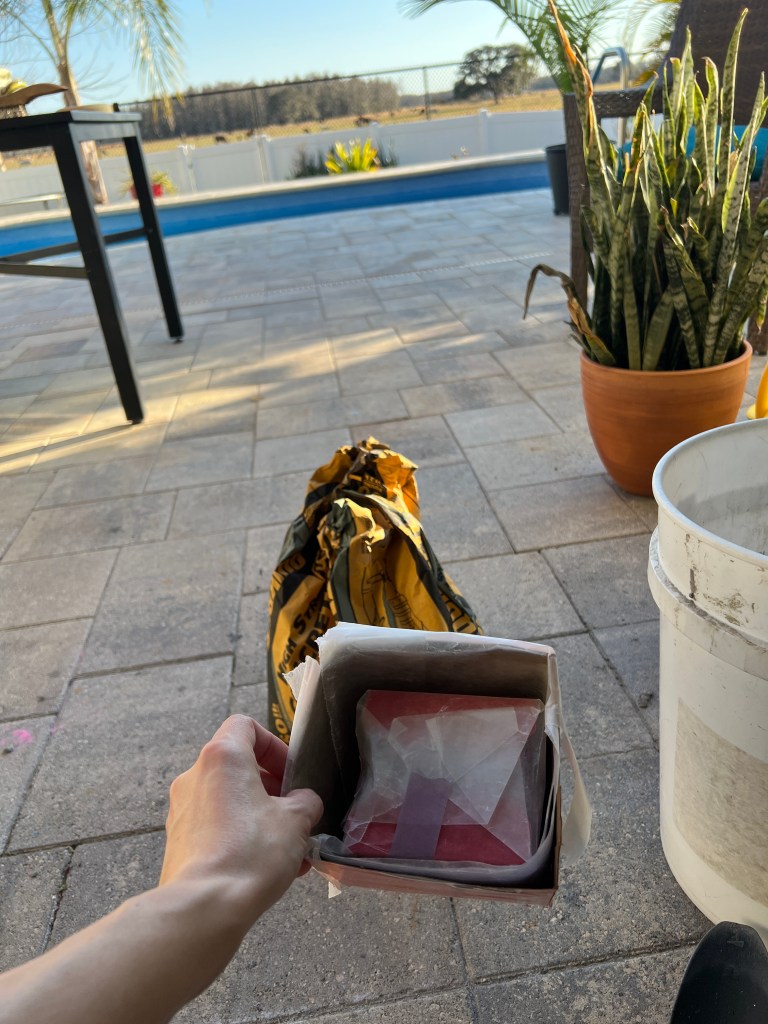
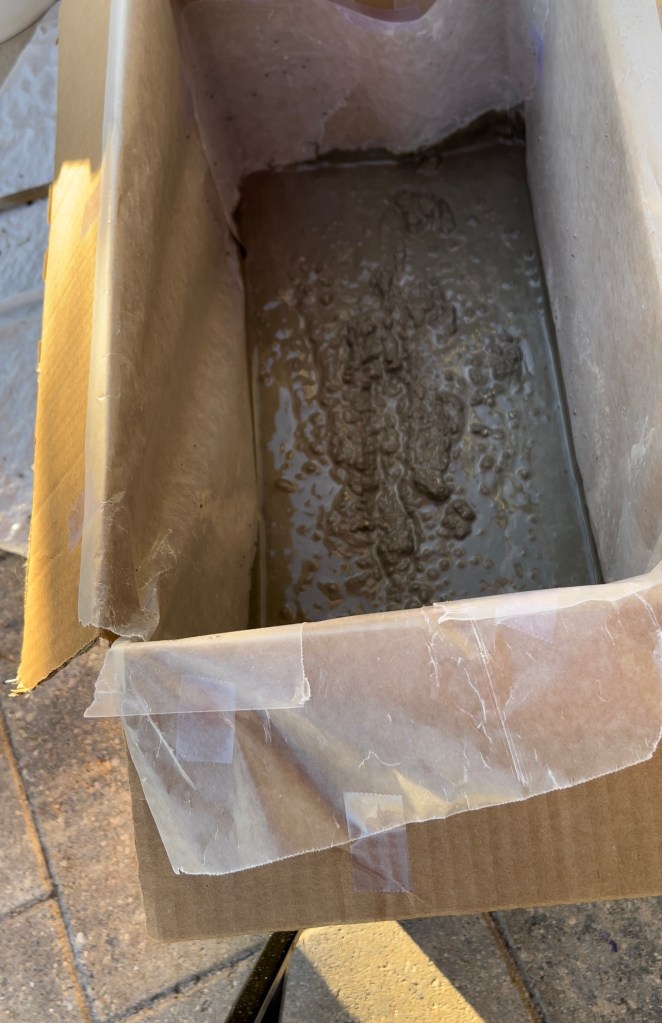
The wax paper is so the concrete doesn’t bond to the cardboard. Cardboard will absorb all the moisture and not hold shape.
Line both boxes with wax paper
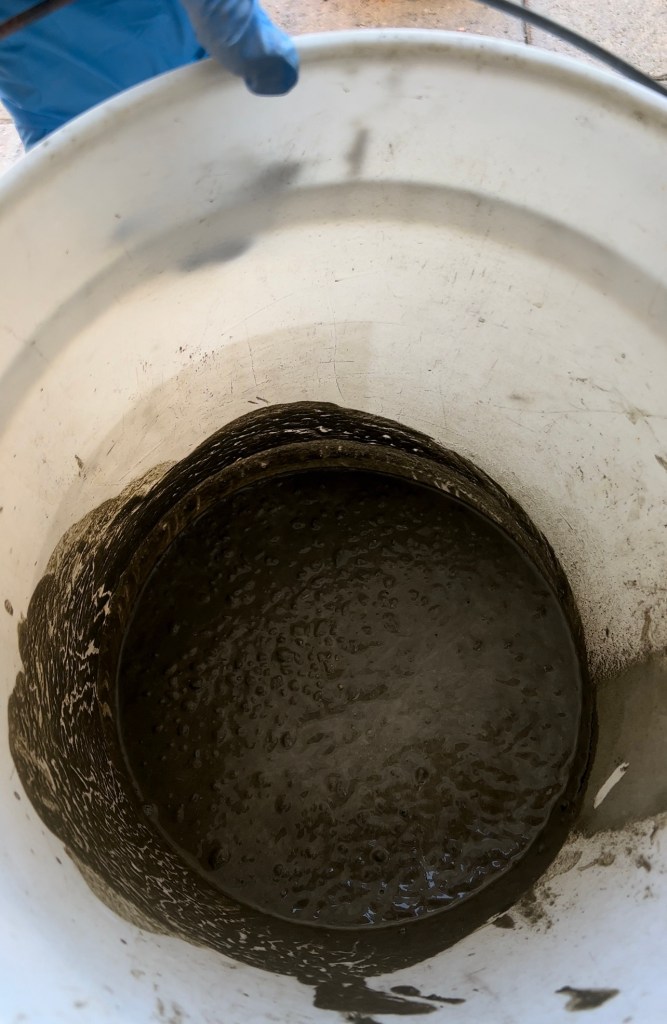
Follow instructions on the bag to mix the Concrete to your desired consistency.
Add a small base layer before adding the second boxLet sit over night and then remove cardboard
You’ll want to remove the cardboard and paper right away after it sits over night so it can finish drying out. At this point you can sand or smooth any rough areas, as the concrete is still workable. I used regular sand paper 300 grit.
Last but not east you’ll need to drill a hole for drainage, the concrete isn’t 100% hard at this point so it’s an easy drill.
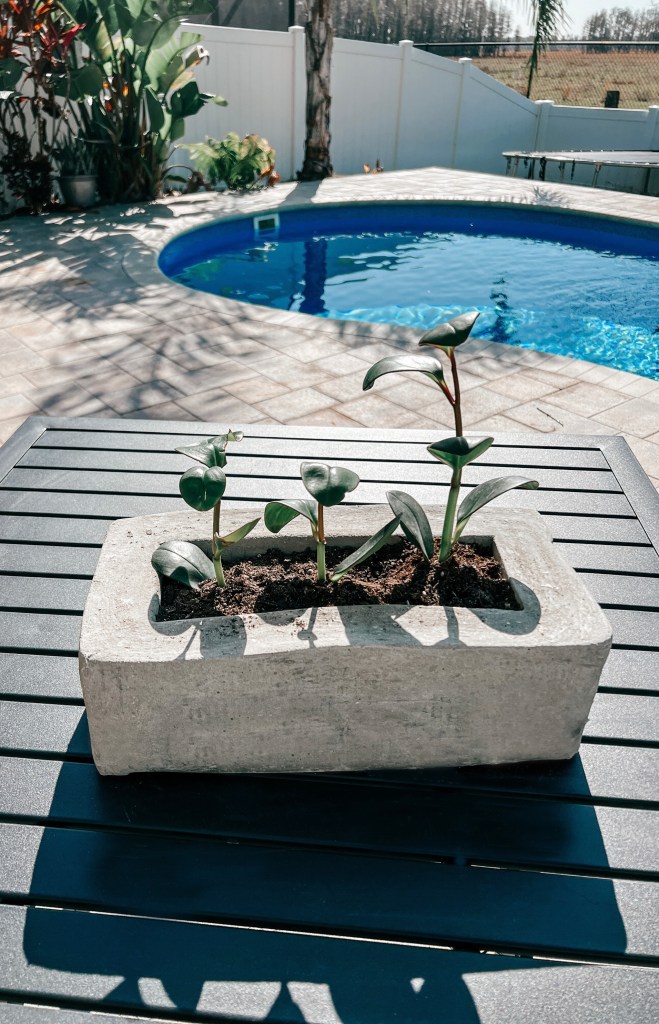
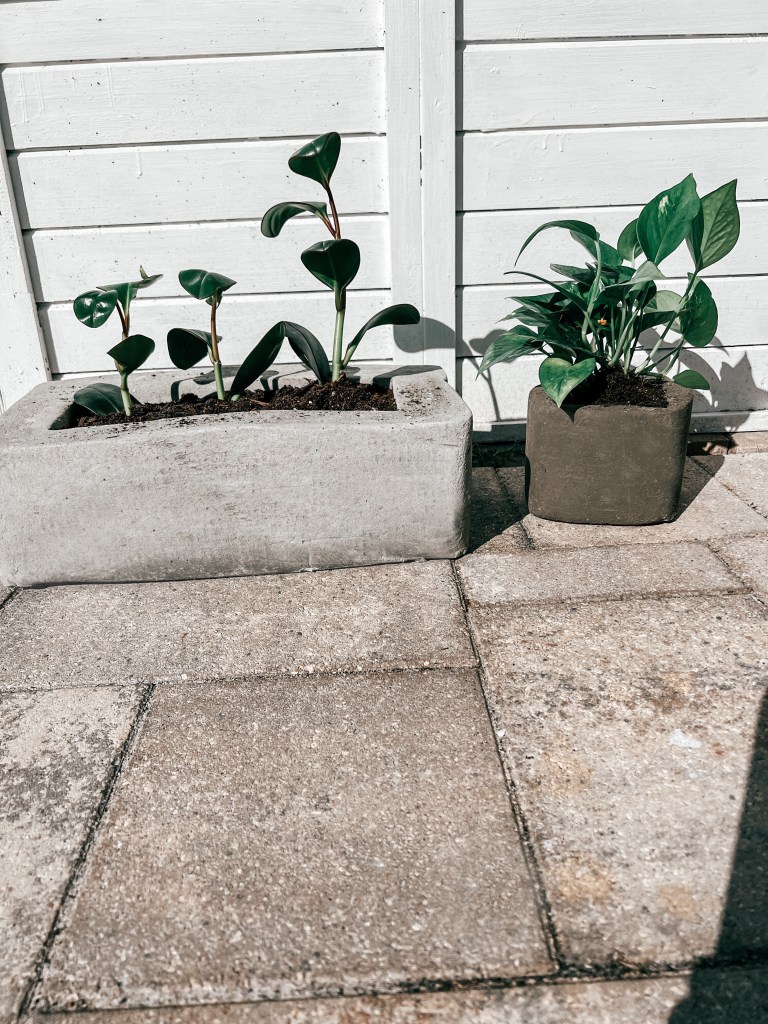
The smaller planter isn’t dry but I wanted to show you with the plant, I’ll update tomorrow when it’s the correct color!
Once it’s fully dry you can put concrete sealer or paint on to protect it. I’m going to use clear, I like the natural look.
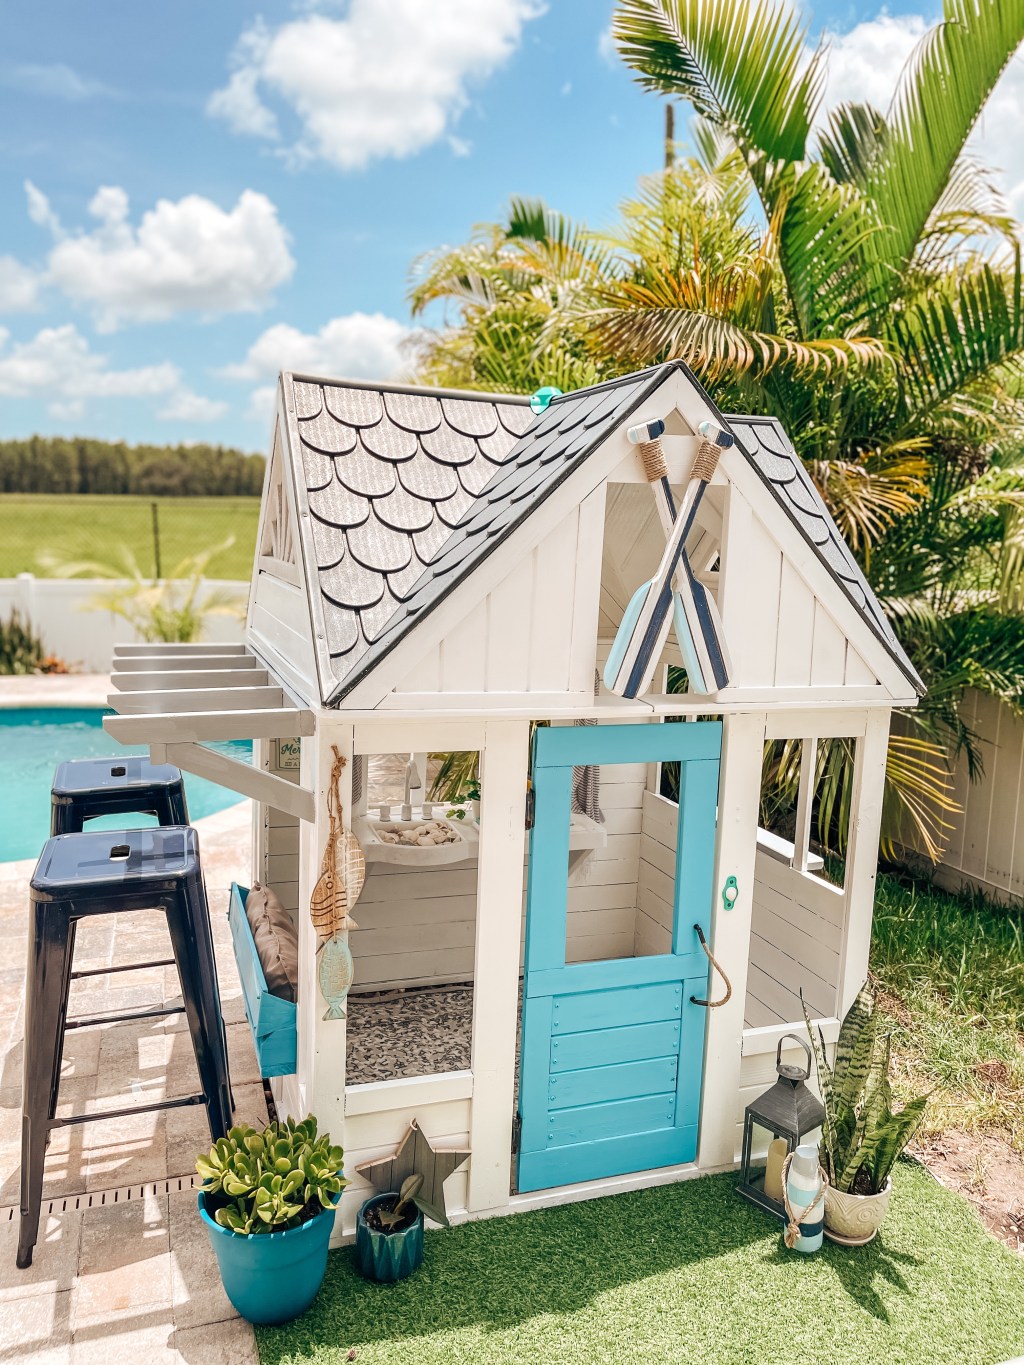
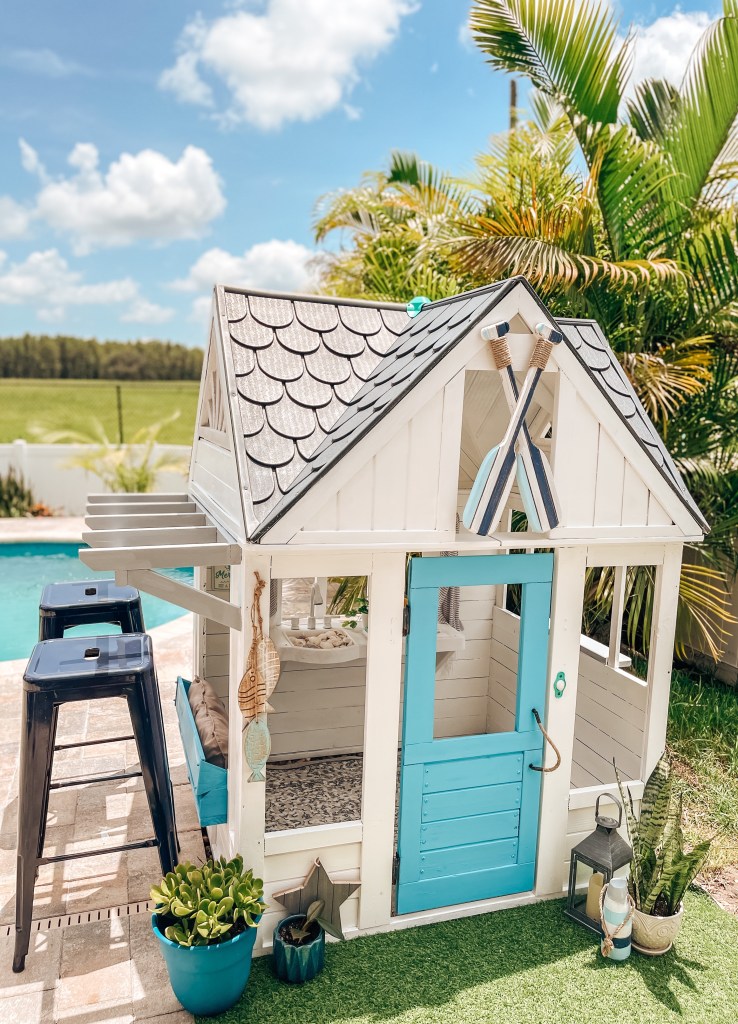
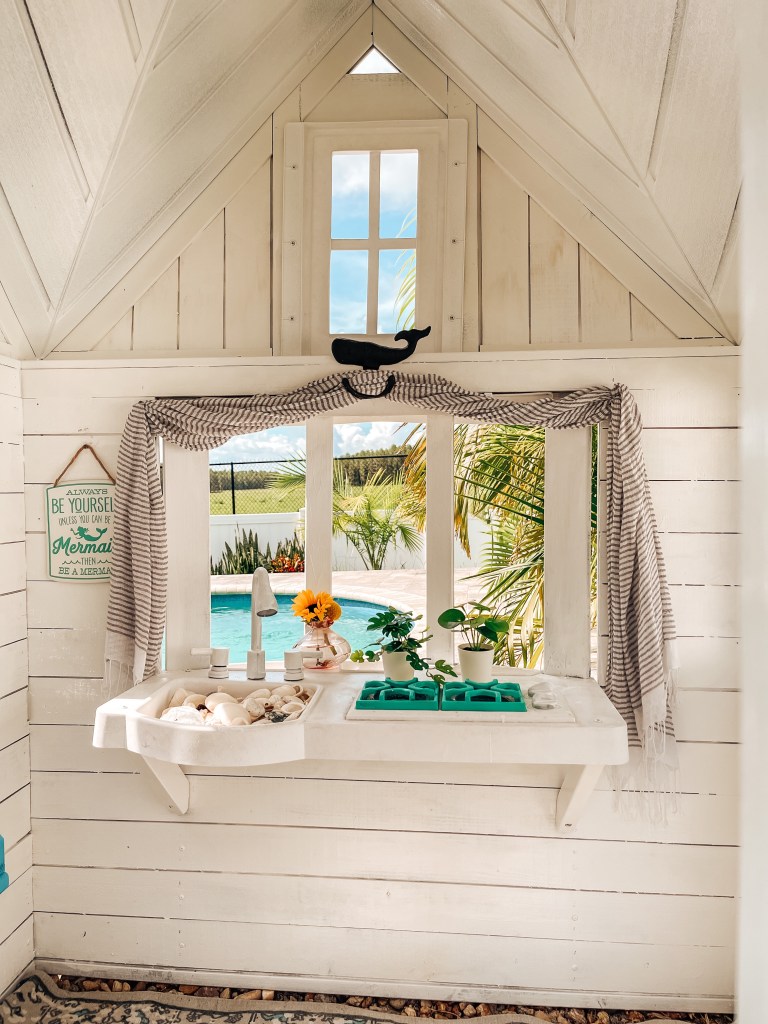
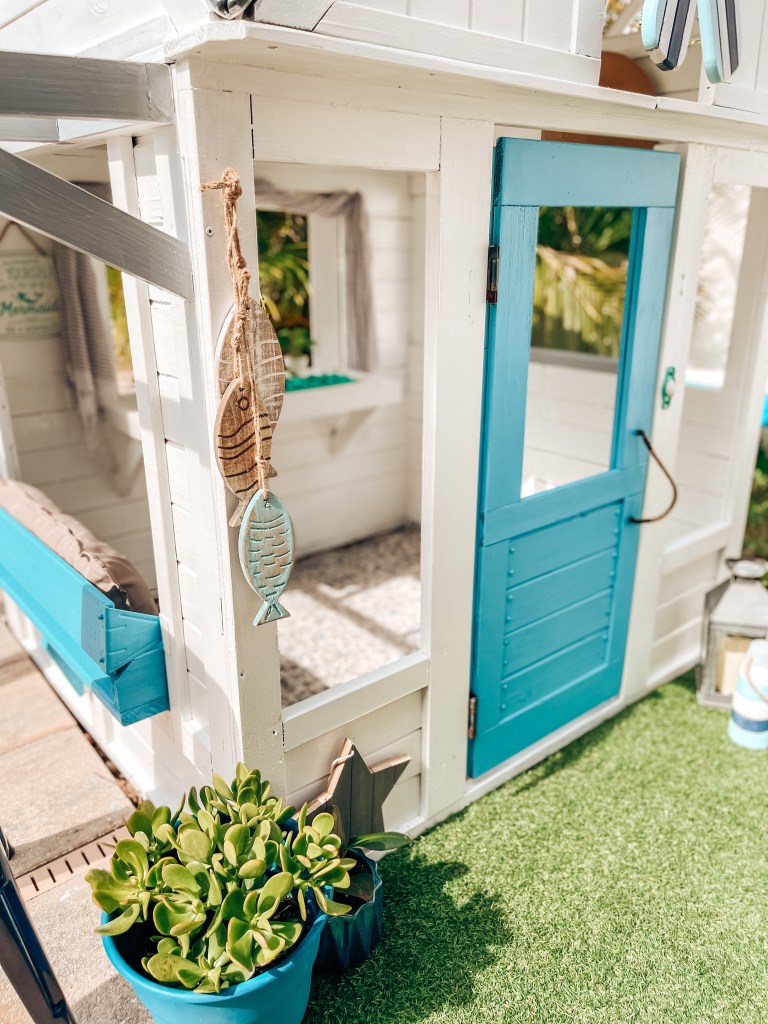
After 2 years the play house was in need of a makeover. The kids don’t really use it anymore, and it mostly stores our pool floats along with frogs and lizards.
We decided on a beach hut theme. Runners up were farmhouse, rainbow house, or repainting it the current theme which matches our house colors.
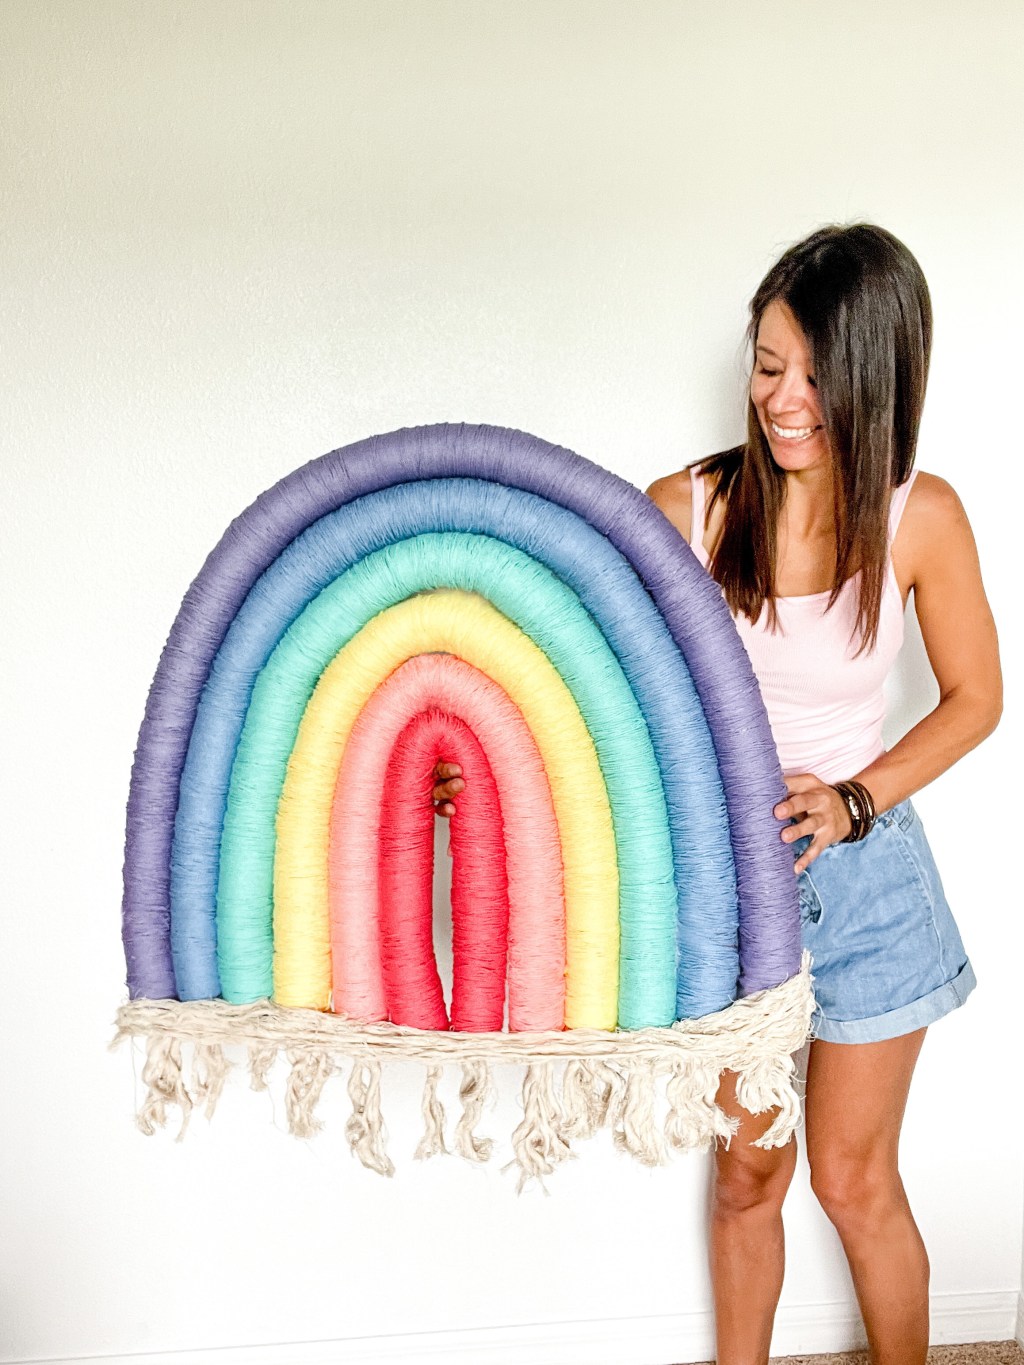
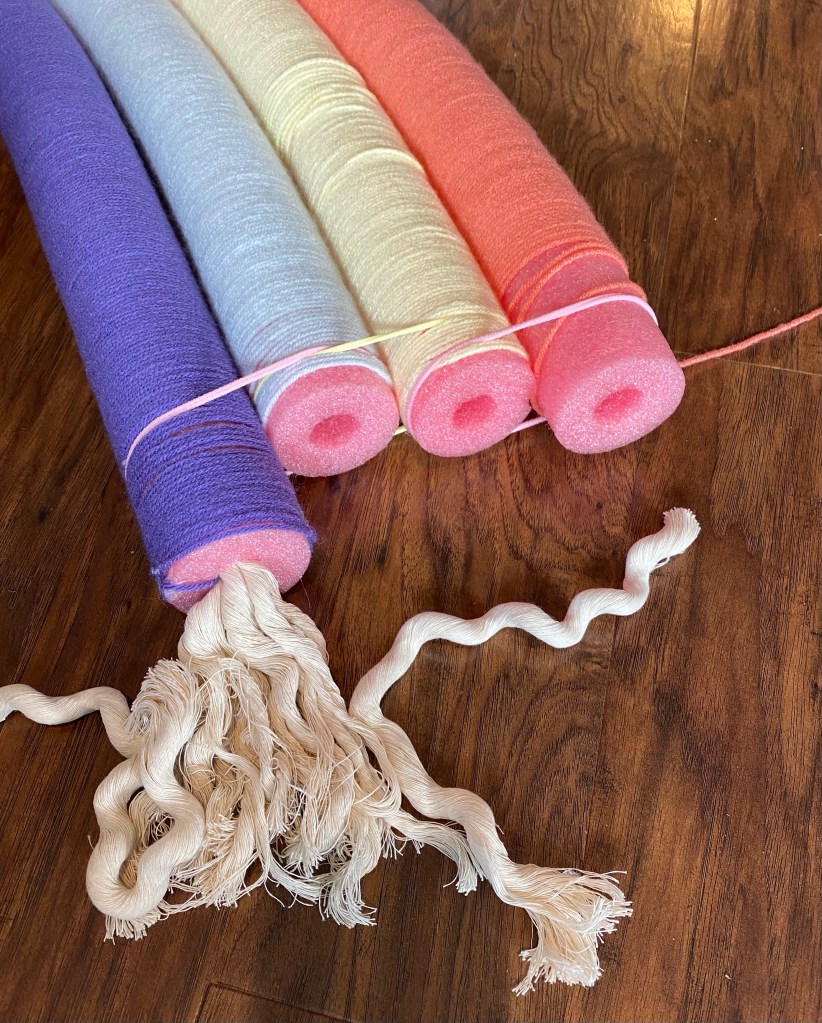
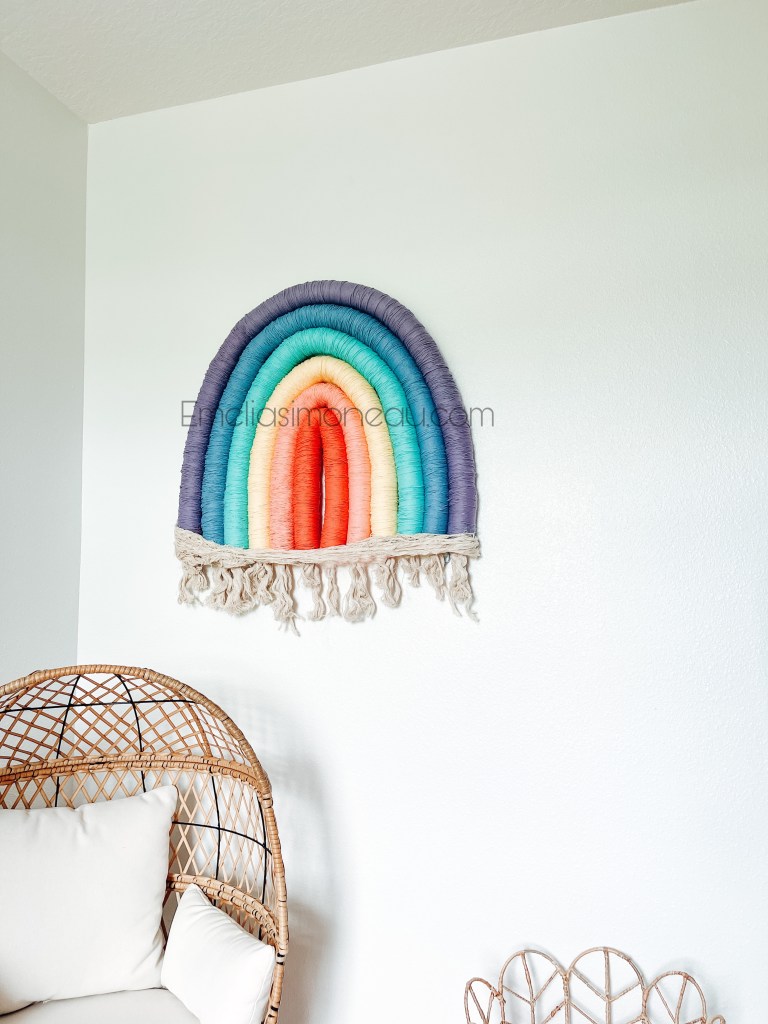
I used the regular sized pool noodles, some hot glue, and yarn colors of your choice! The Drill saves so much time! I found a foam ball from the kids toys and it fit right in the hole, then wedge the largest drill bit I could find in between. I felt like McGyver, but it’s a hack you can appreciate!! The previous rainbow we made, I hand wound and it took days!! I still can’t believe I did that.
To give it some stiffness I added the copper pipe because that’s what we had leftover in the garage, but any bendable pipe would work. I also wove wooden skewers behind the noodles to hold it together!!
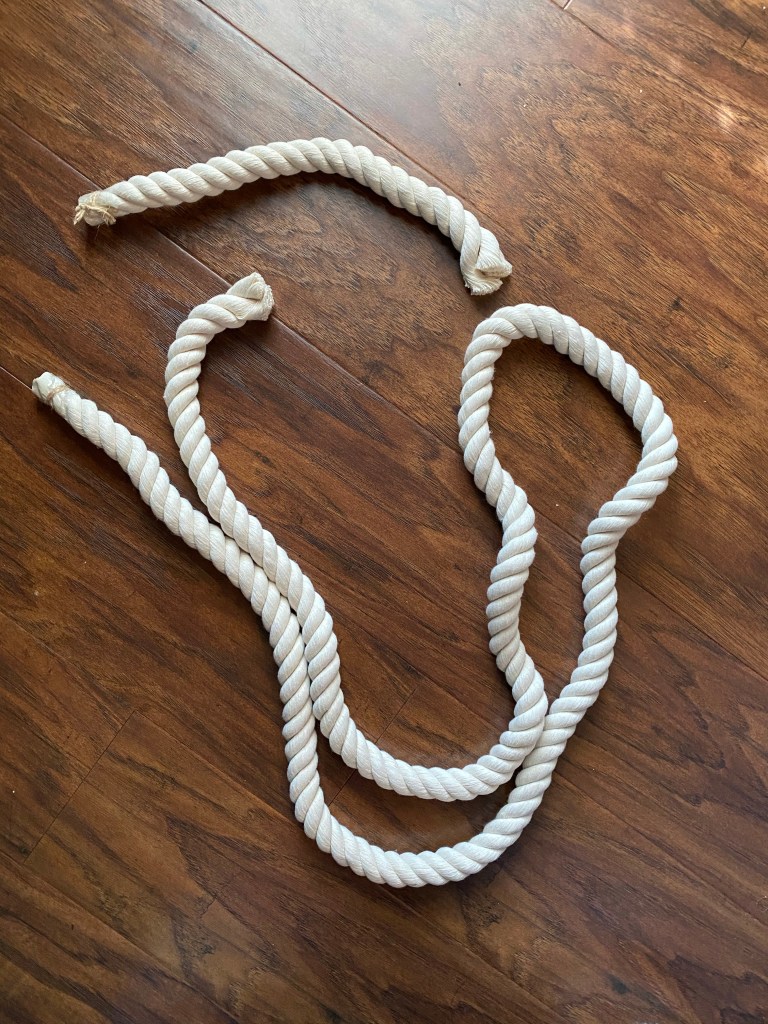
For the cord at the bottom I unwound the rope, cut into 6 inch sections and then folded those in half and frayed the ends To finish I glued the rope into the holes and then covered the bottom 2 inches of the rainbow with the undone rope to coverup the ends
Decided to give Harper’s wall an update! I drew this sloppy Daisy and printed out with my vinyl cutter. I use the silhouette cameo and ordered these two vinyls. White vinyl and Yellow vinyl It’s important to note, make sure you get removable sticky vinyl, you don’t want to take the paint off the walls!!
We love it so much and I have so much left over vinyl that I may add a 3 or 4 more, what do you think?
I wanted to share it with all of you so here is the file
Download the JPG file and trace it or click this link and download the SVG file.