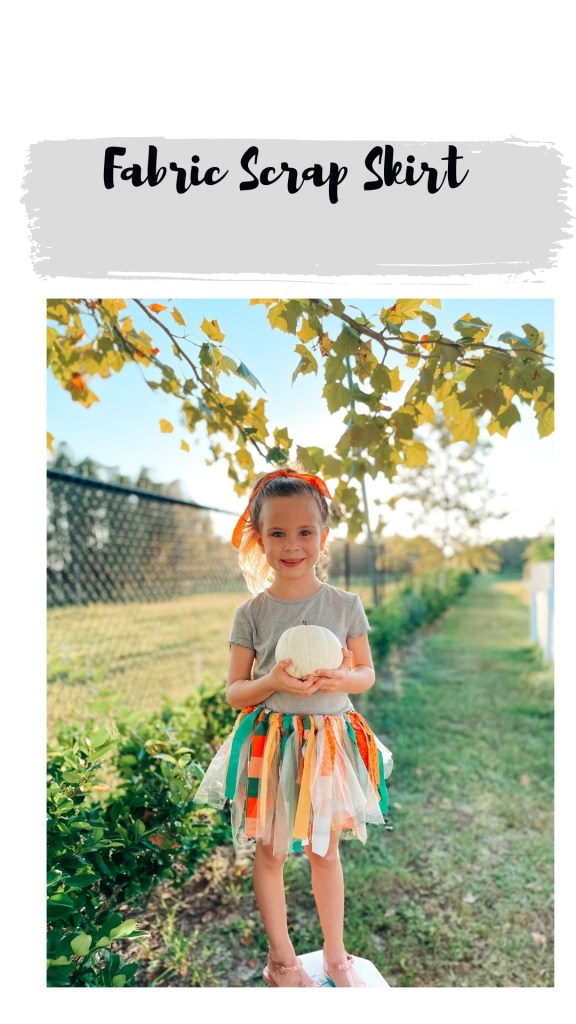
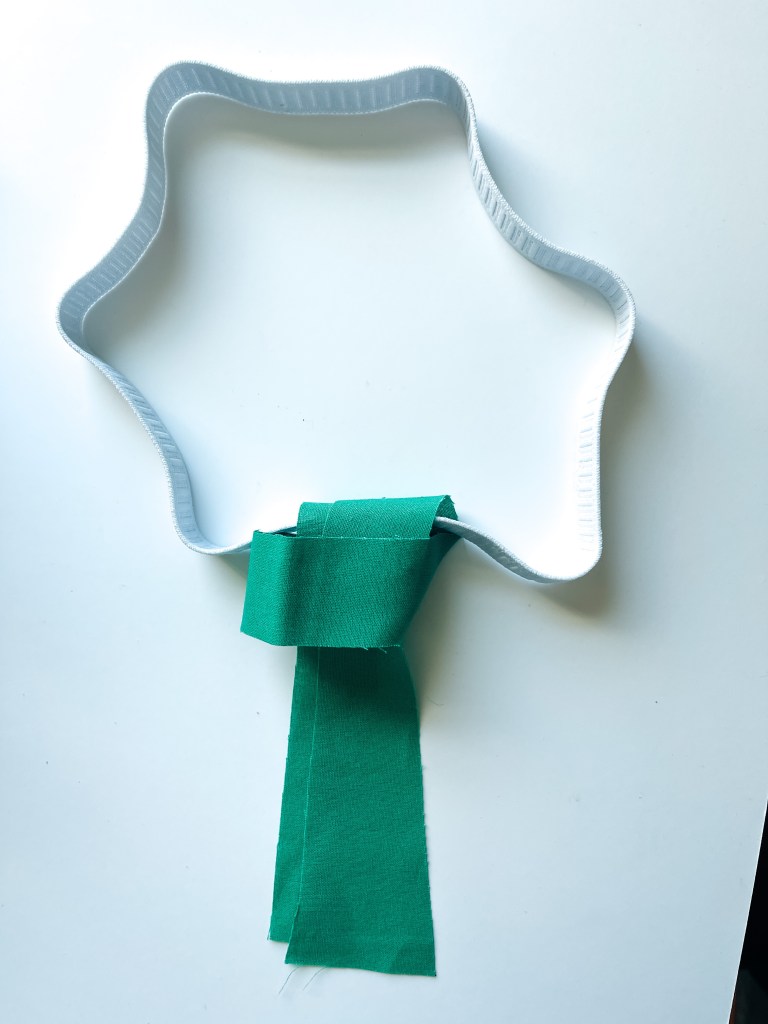
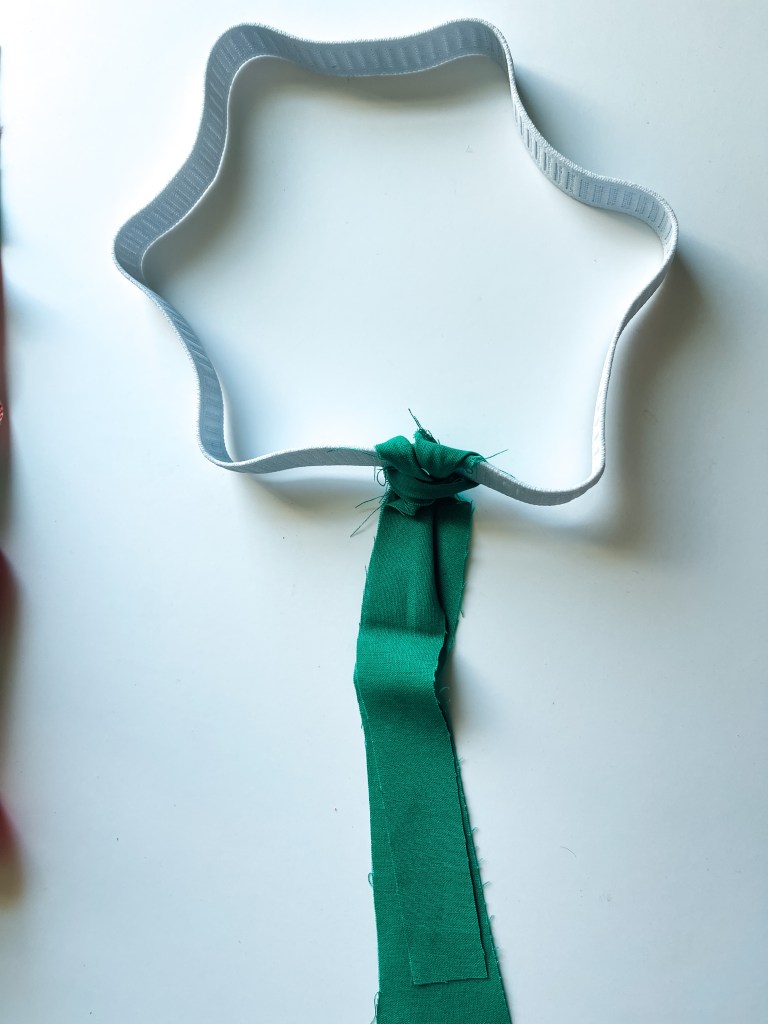
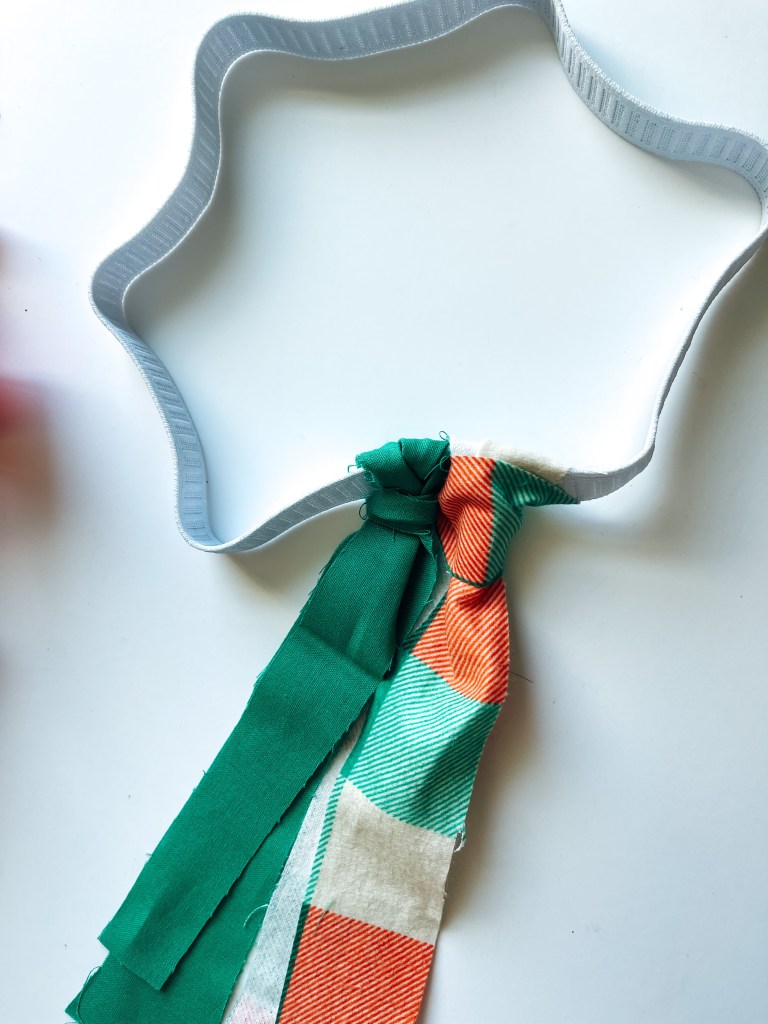
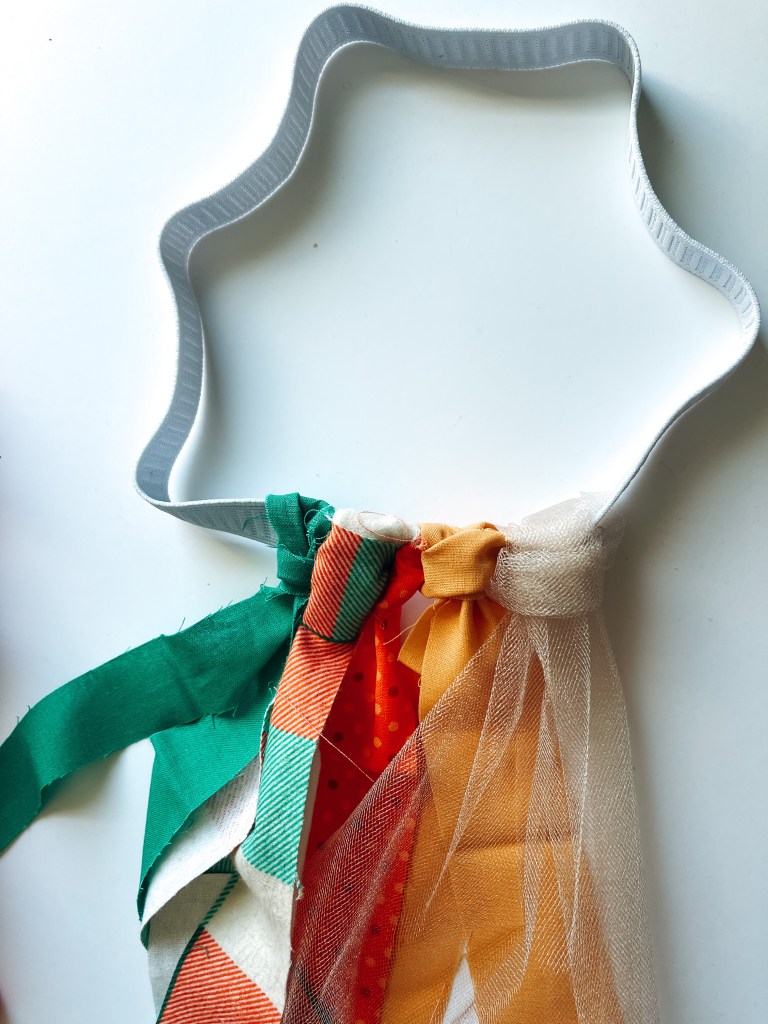
I always love to DIY on the weekends! Today I made this super easy scrap skirt that doesn’t require a sewing machine. Even if your not crafty, this is an easy one!
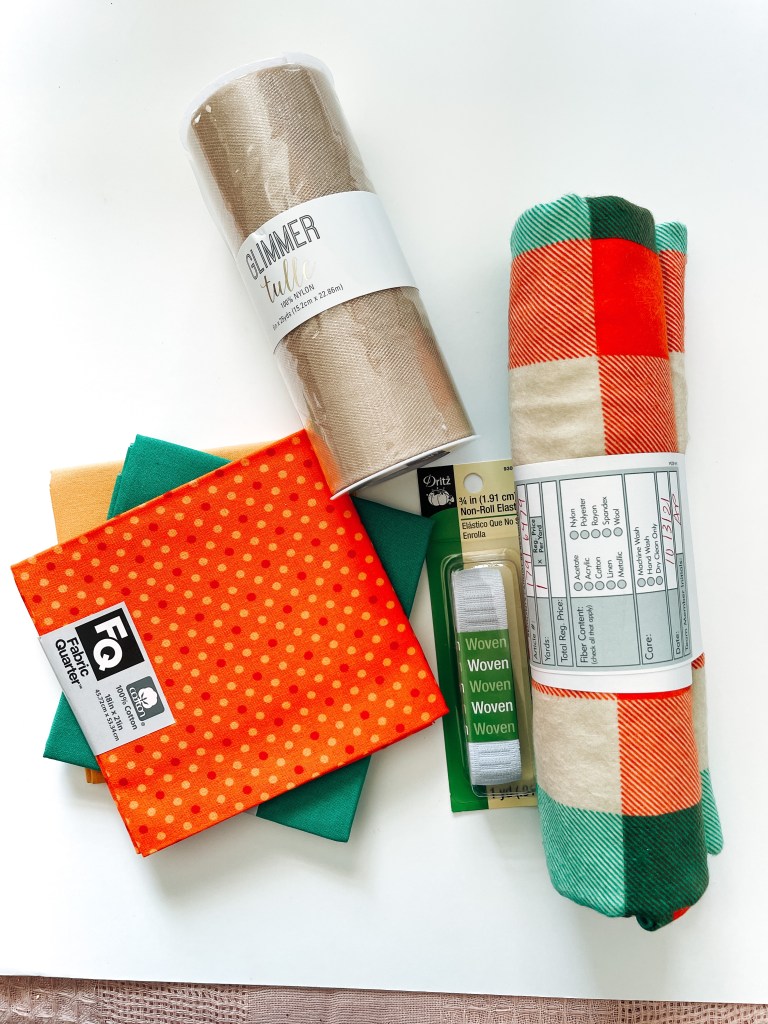
I got all my supplies at Joann Fabric
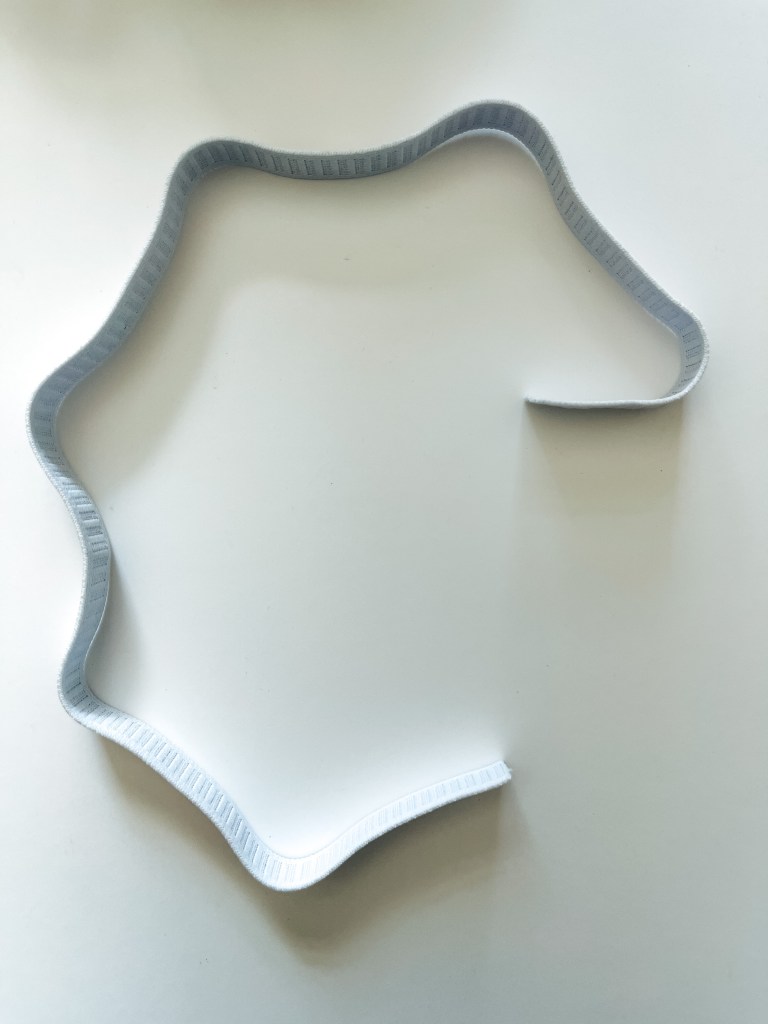
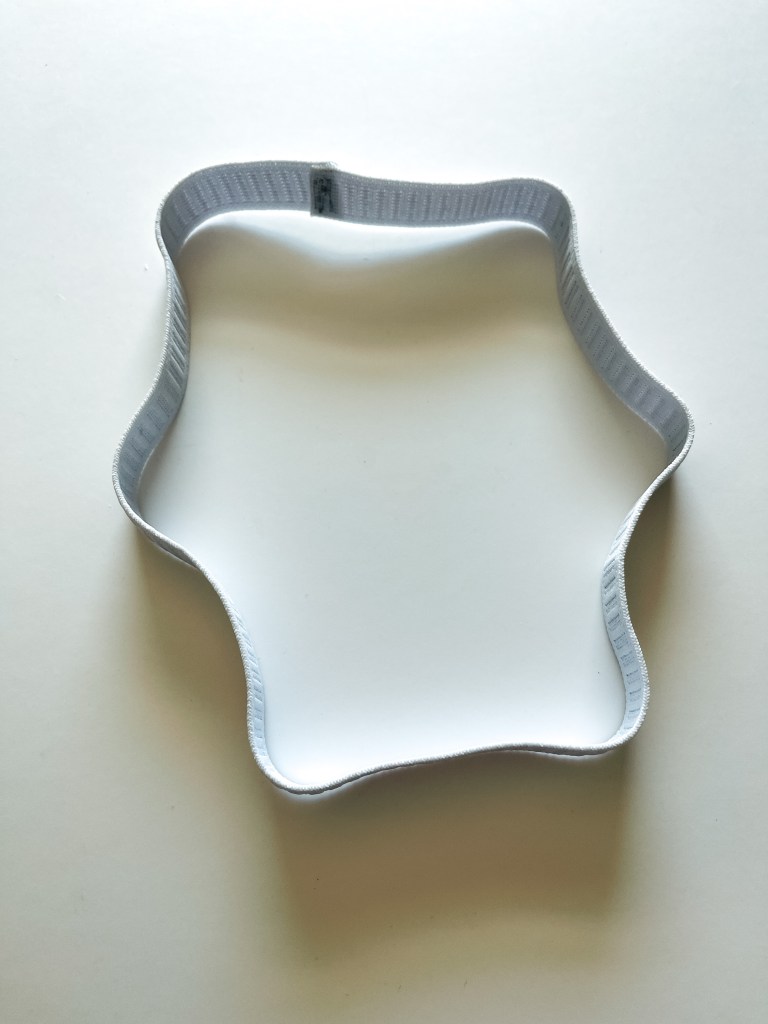
I put a quick stitch to hold the ends together


I always love to DIY on the weekends! Today I made this super easy scrap skirt that doesn’t require a sewing machine. Even if your not crafty, this is an easy one!
I got all my supplies at Joann Fabric
I put a quick stitch to hold the ends together
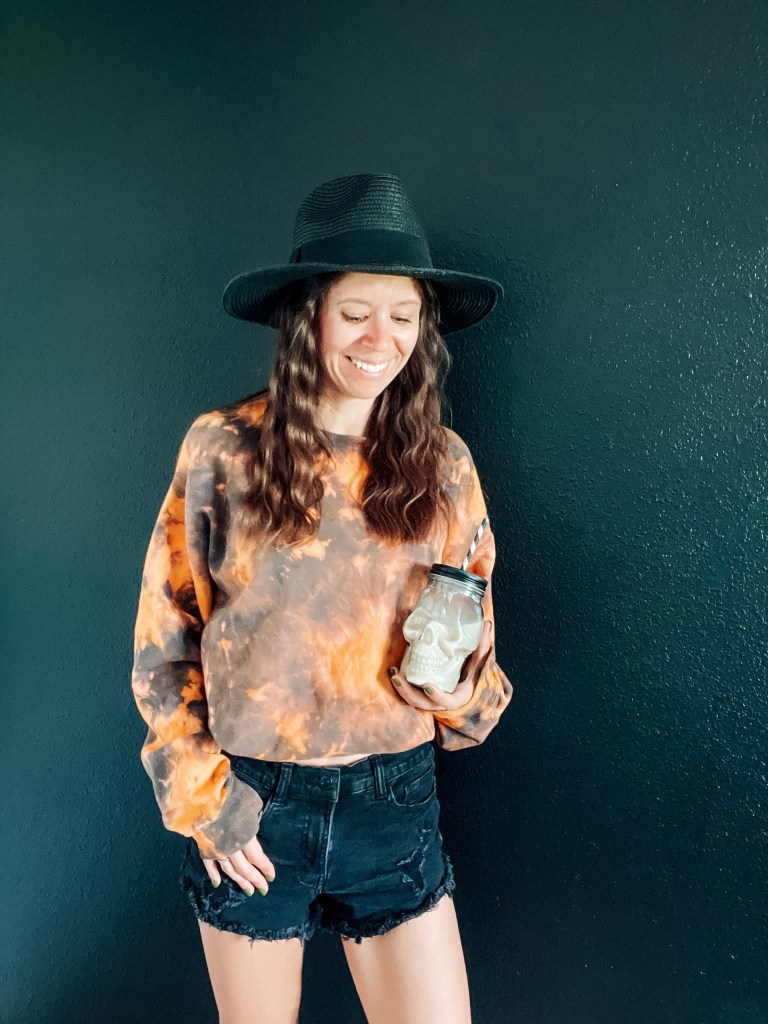
I’m obsessed with the Hanes comfort color sweatshirts! (Linked here) I get them in a size Medium and it gives a nice over sized look.
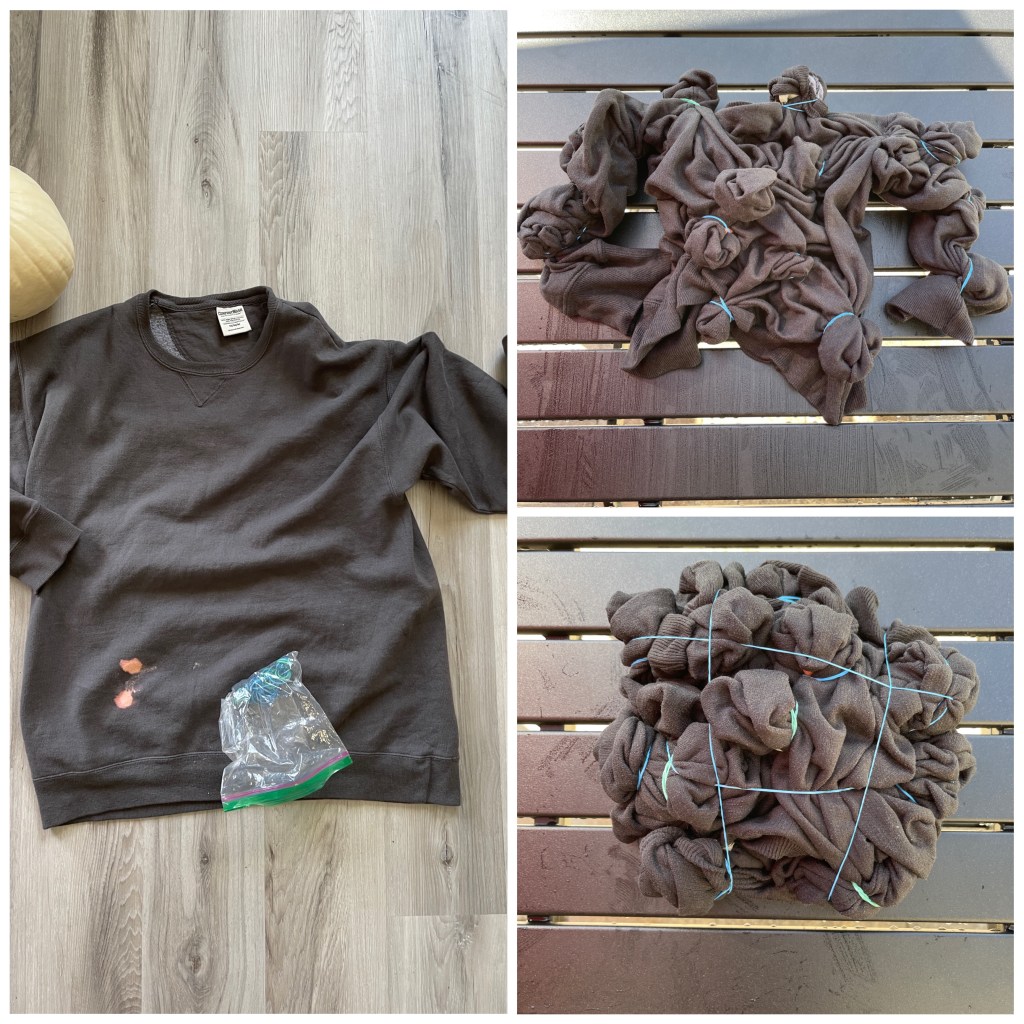
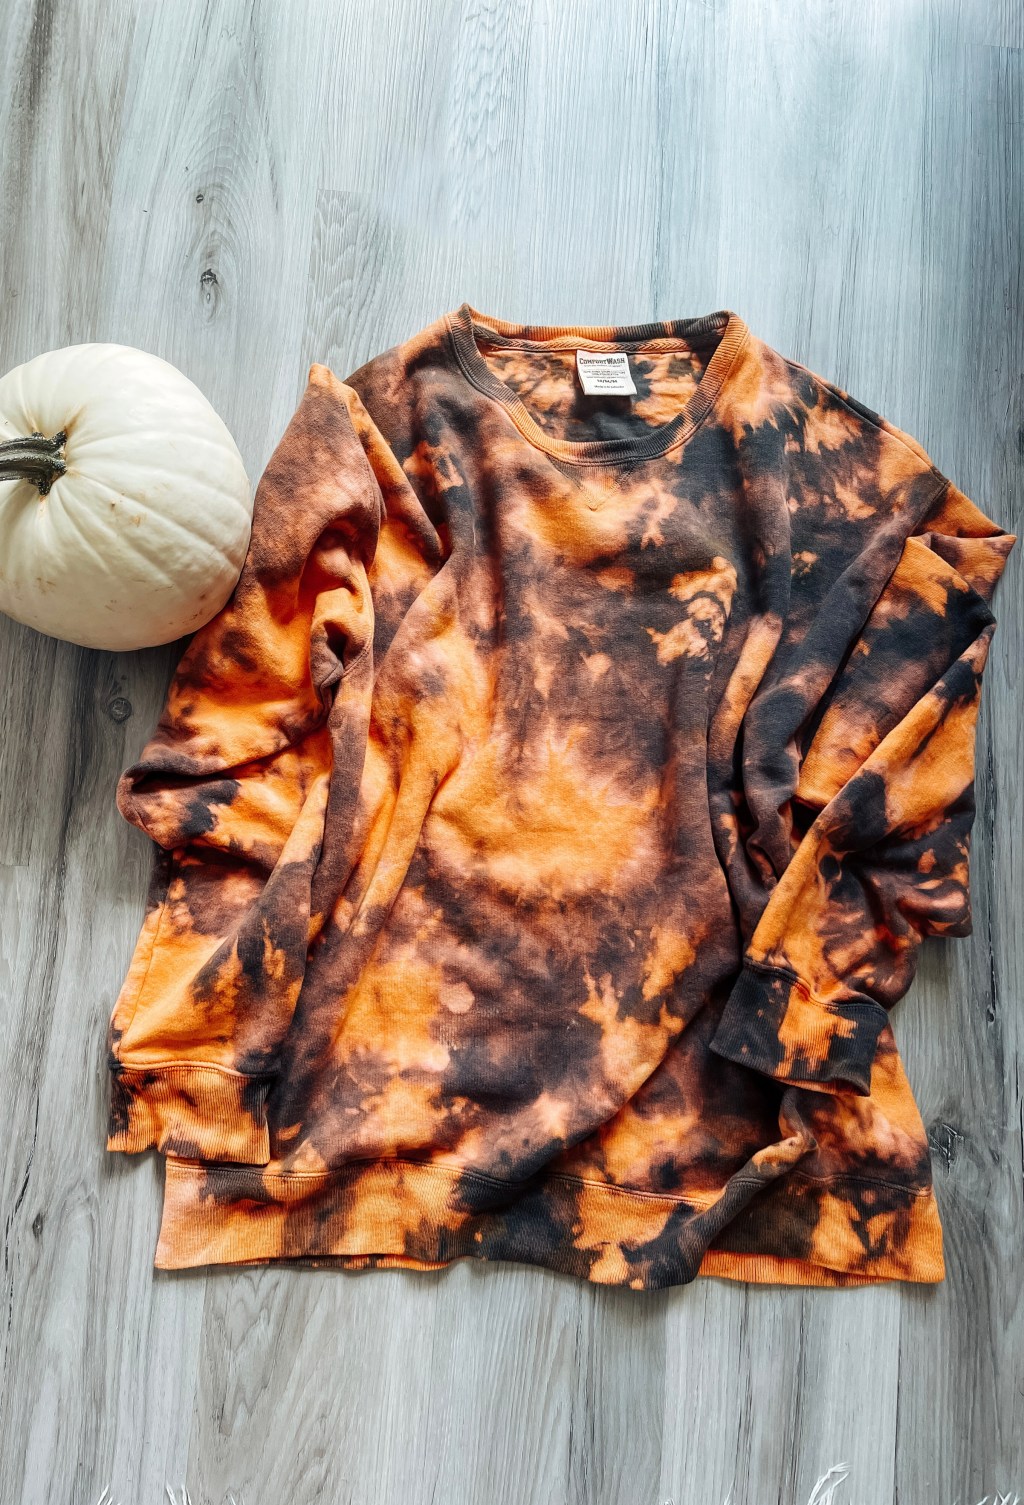
This morning while cleaning I got bleach on my newest color! So I decided to fix it with more bleach and Orange dye to make a Halloween Sweatshirt. Supplies I used were Rit Dye in Sunshine Orange, Bleach, and rubber bands that’s it! The whole process took me about an hour, and then another 40 minutes to wash and dry. I love how it turned out, and I’m calling it a happy accident!
I made little clumps that I twisted and banded where I wanted the bleach to go. Elastic those together into a big square sort of.

Normally I would use the cling gel bleach but I wanted it all to blend and since I spilled this one on me I decided to stick with it. Make sure to cut it 1/2 water 1/2 bleach. I started to see an immediate reaction and within 15 minutes it was done!
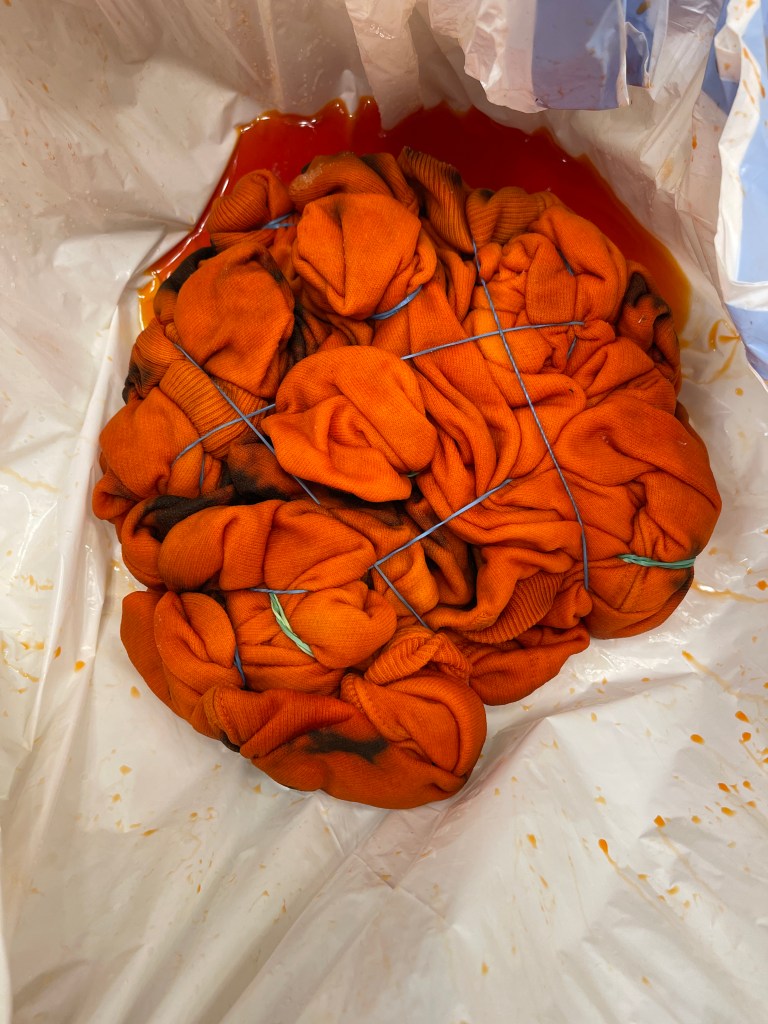
After adding the dye I let it sit for 30 minutes and this is how it looked. I love the vibrant color, but of course it fades a little when you rinse. Rinse until the water runs clear then un band. I popped it into the washer for a quick wash no soap then into the dryer. This is the results!! Of course I can still see the original bleach spot haha but it’s a little camouflage now. Let me know if you try this!!


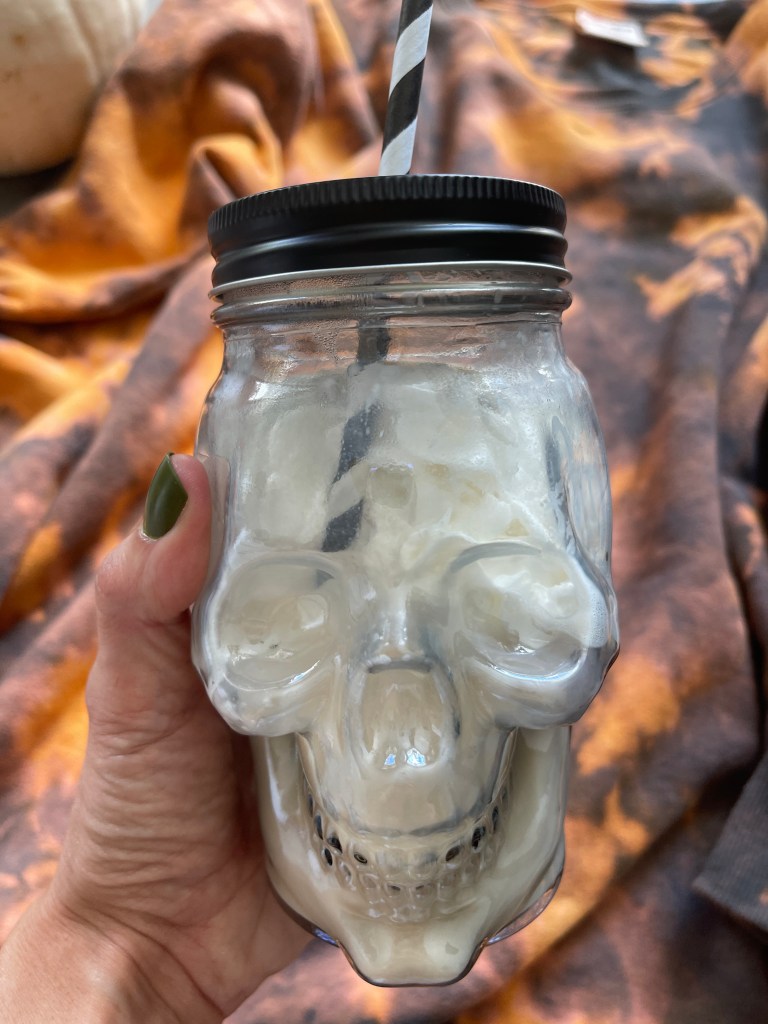
Forgot to link this cute Skull Mason Jar Cup


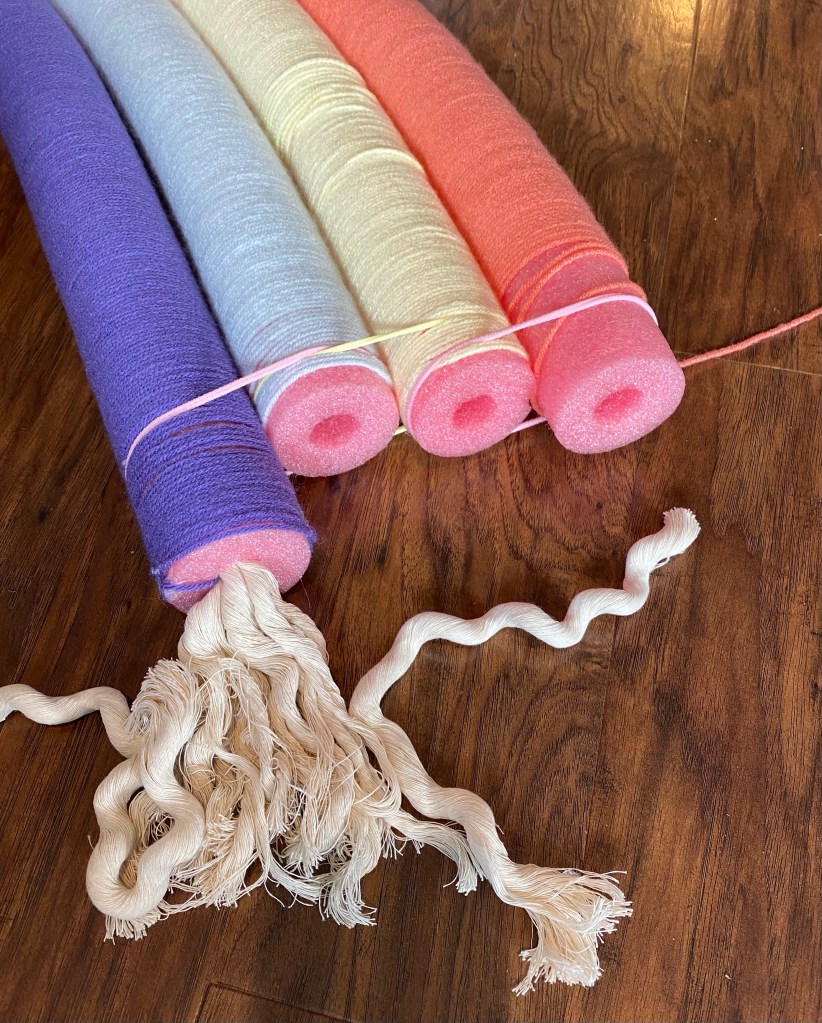
Here is everything you need to get started!
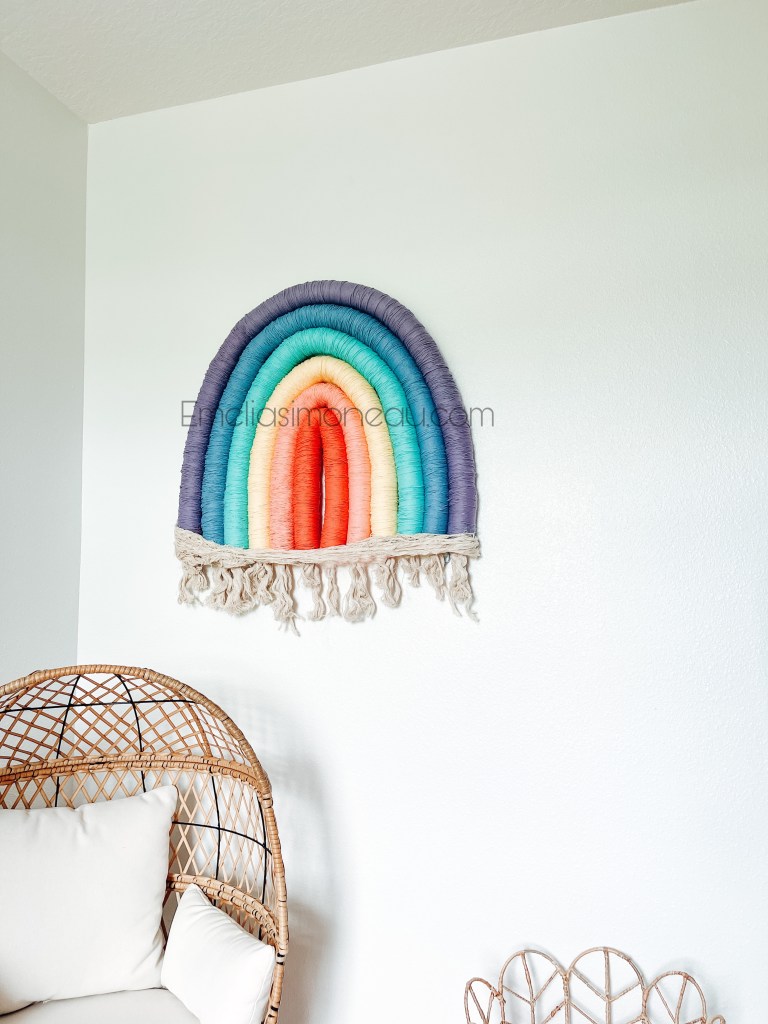
I used the regular sized pool noodles, some hot glue, and yarn colors of your choice! The Drill saves so much time! I found a foam ball from the kids toys and it fit right in the hole, then wedge the largest drill bit I could find in between. I felt like McGyver, but it’s a hack you can appreciate!! The previous rainbow we made, I hand wound and it took days!! I still can’t believe I did that.
To give it some stiffness I added the copper pipe because that’s what we had leftover in the garage, but any bendable pipe would work. I also wove wooden skewers behind the noodles to hold it together!!
Let me know what colors you would put together!


